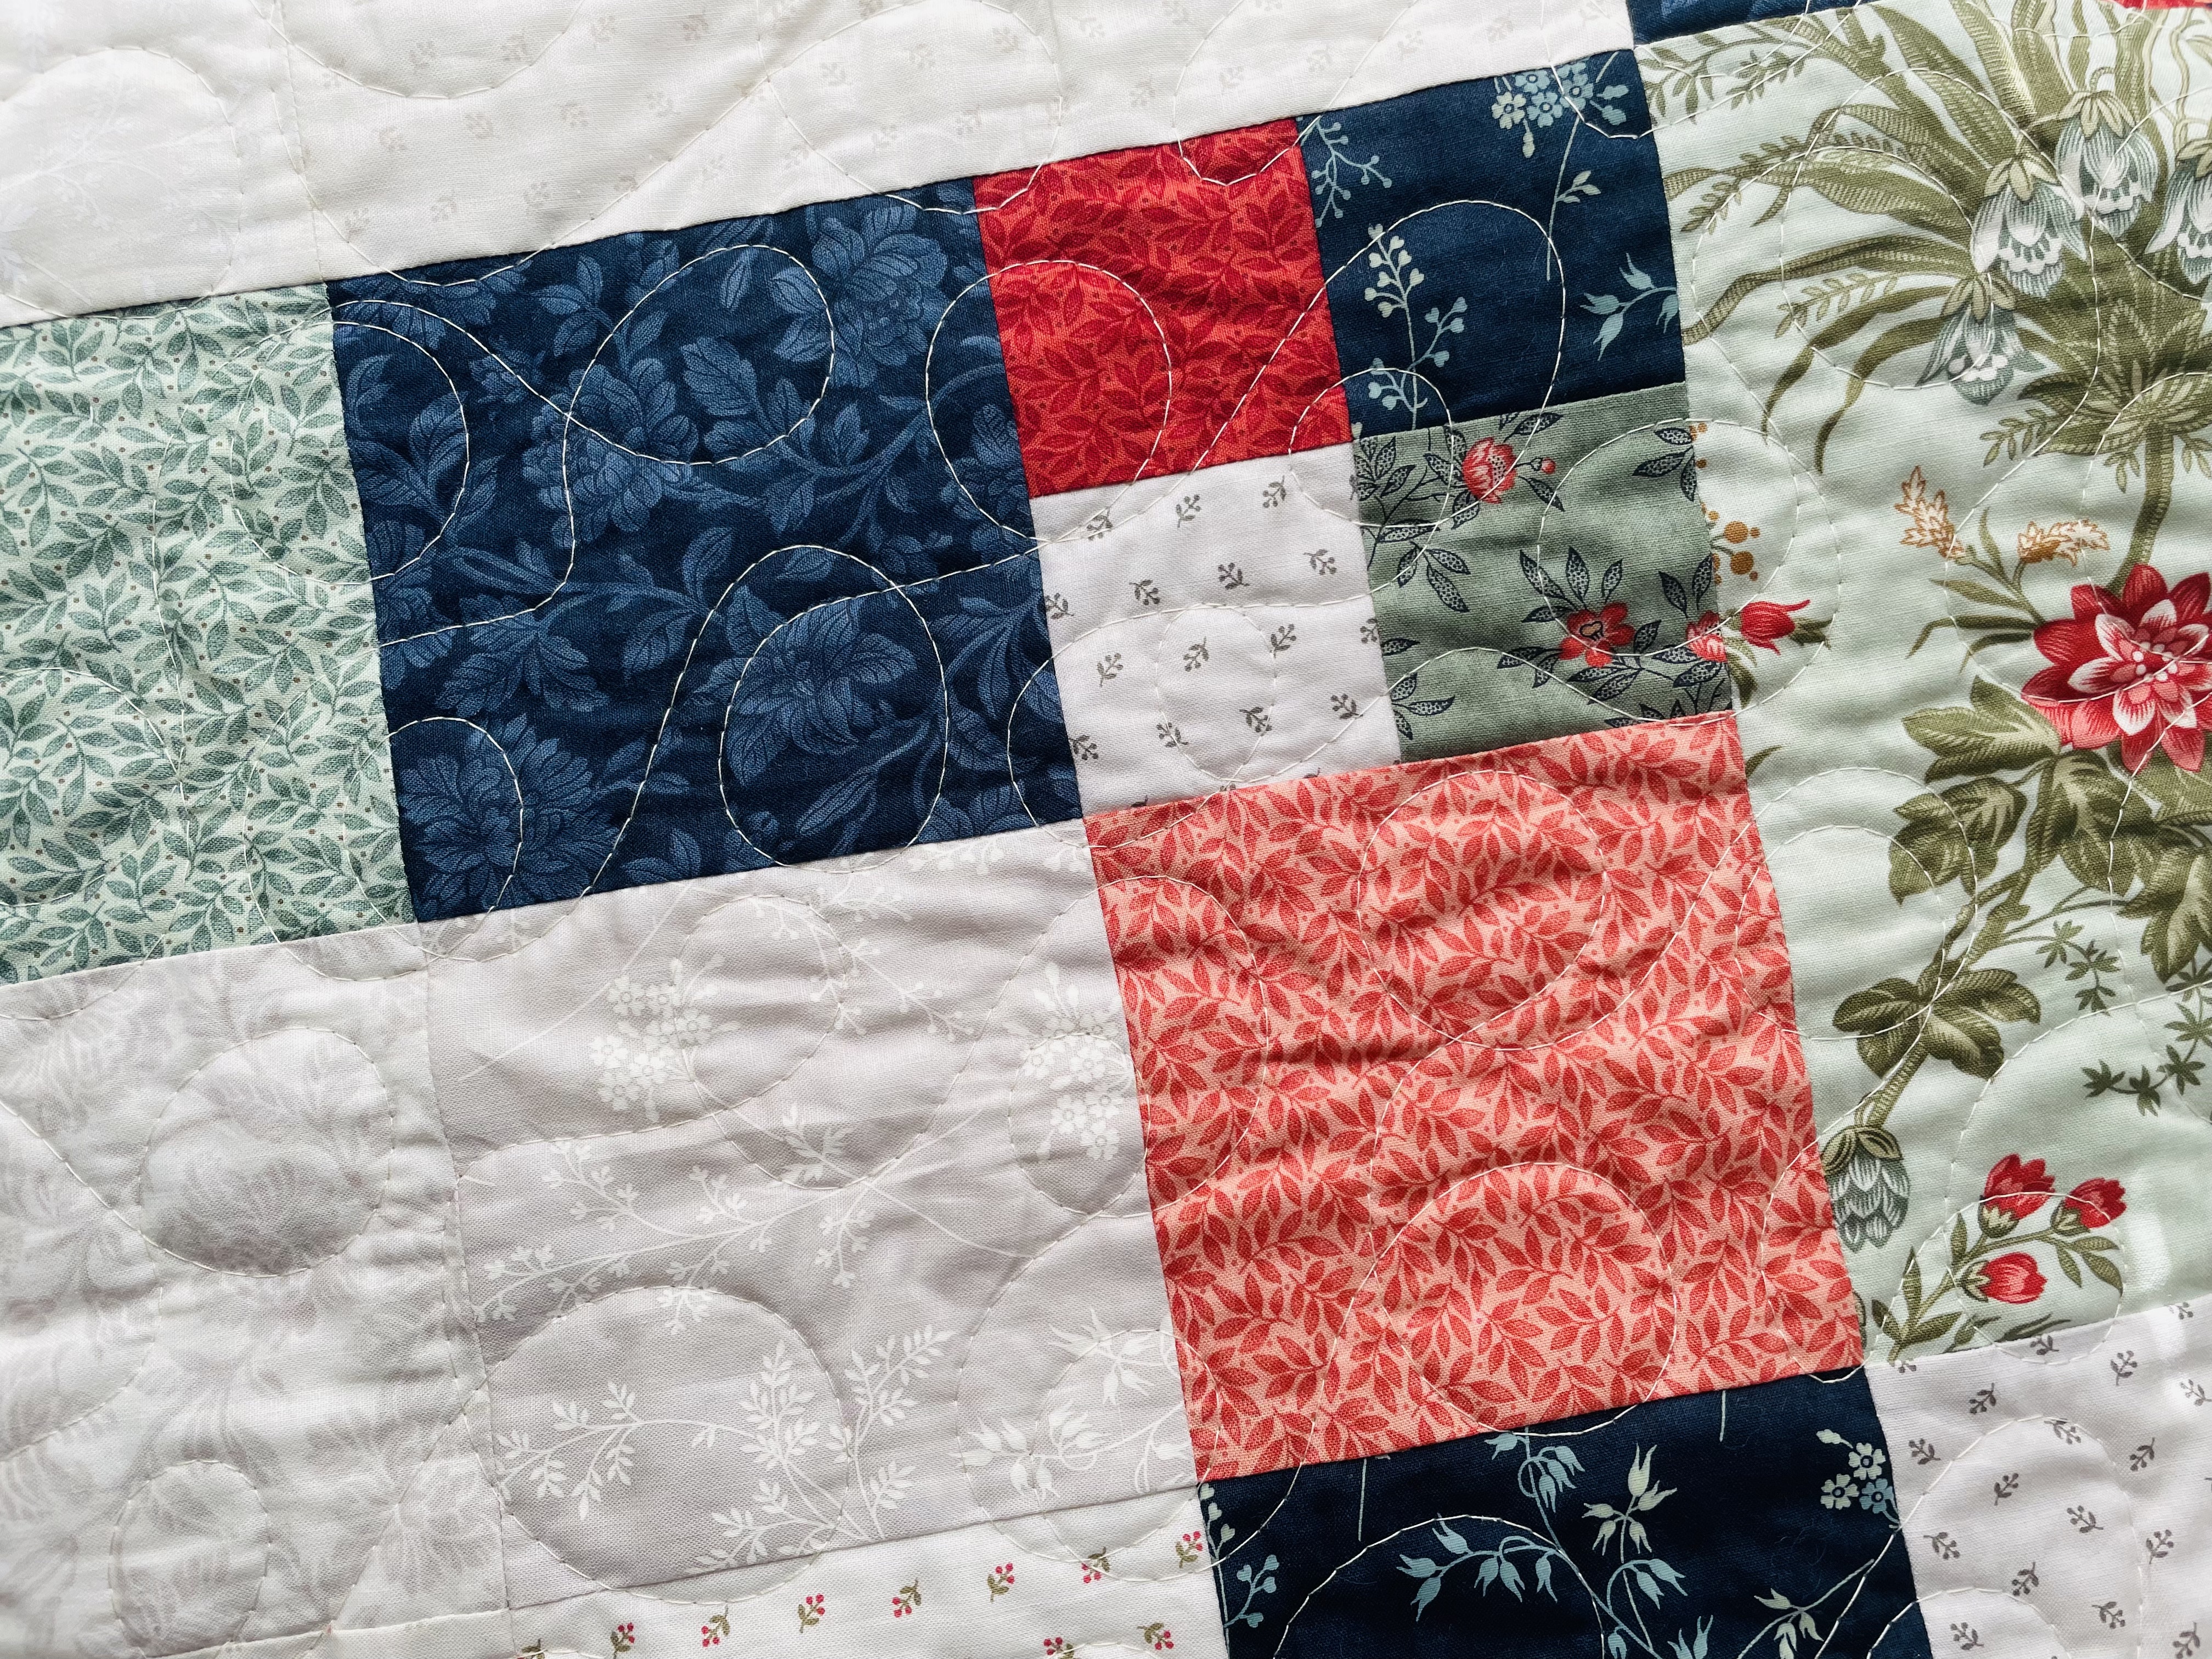
Let’s talk about my latest quilt pattern called Hopscotch! This is a super beginner friendly quilt and a great way to use your scraps, but who doesn’t appreciate a few helpful tips? That’s why I’m here!
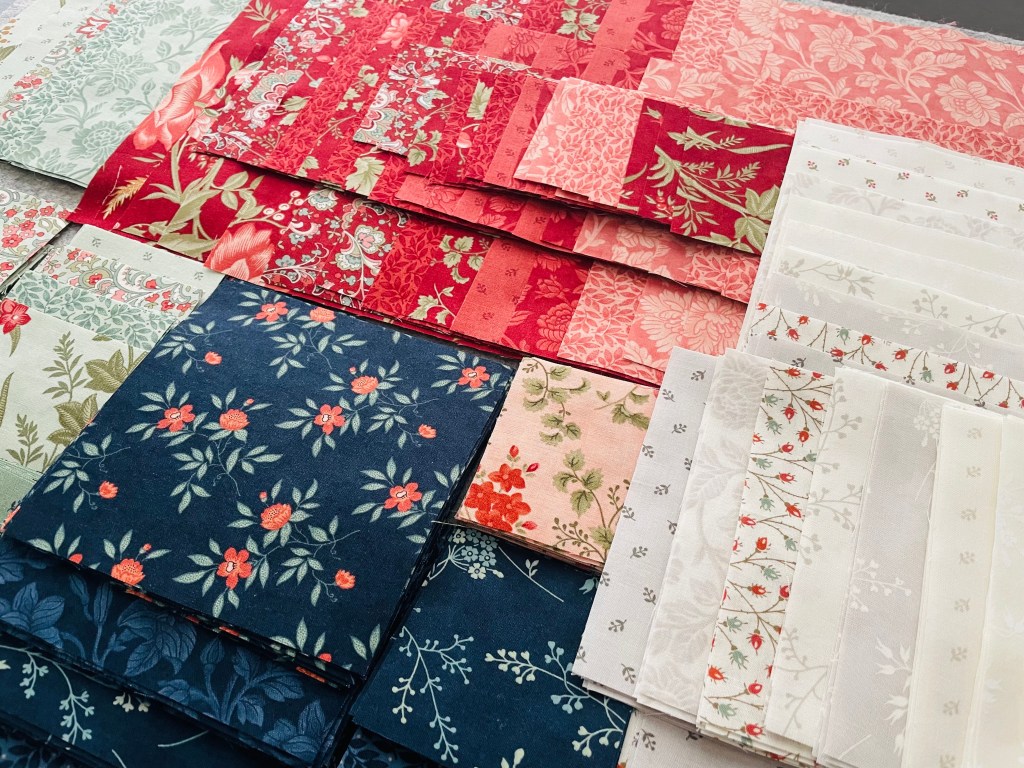
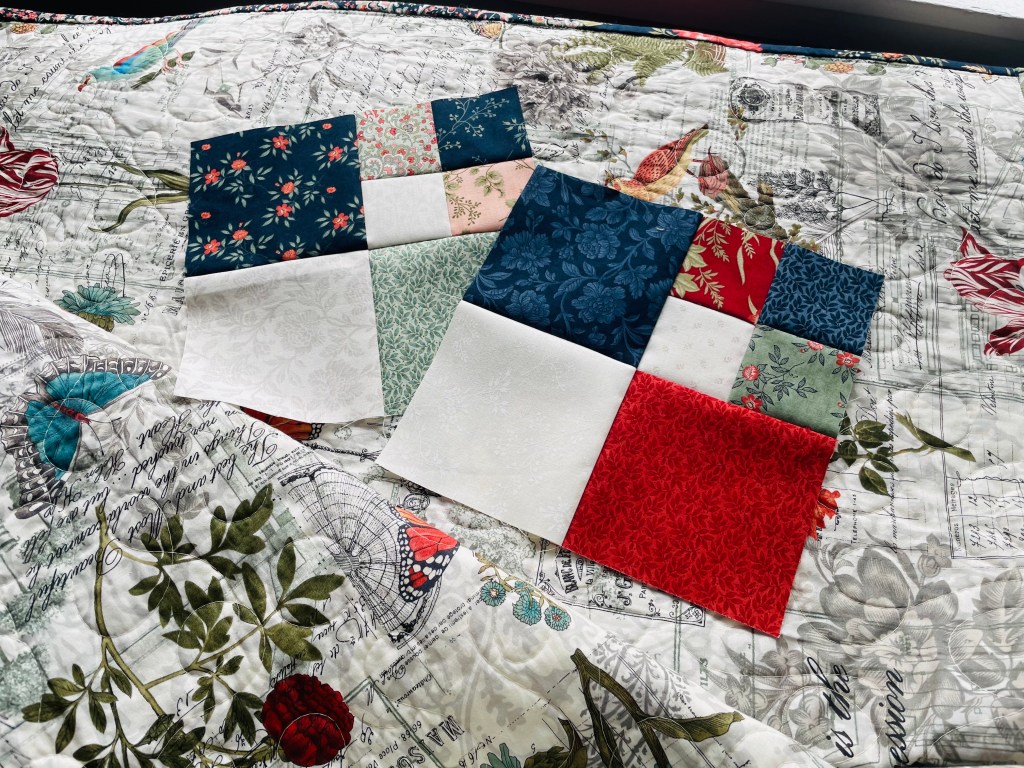
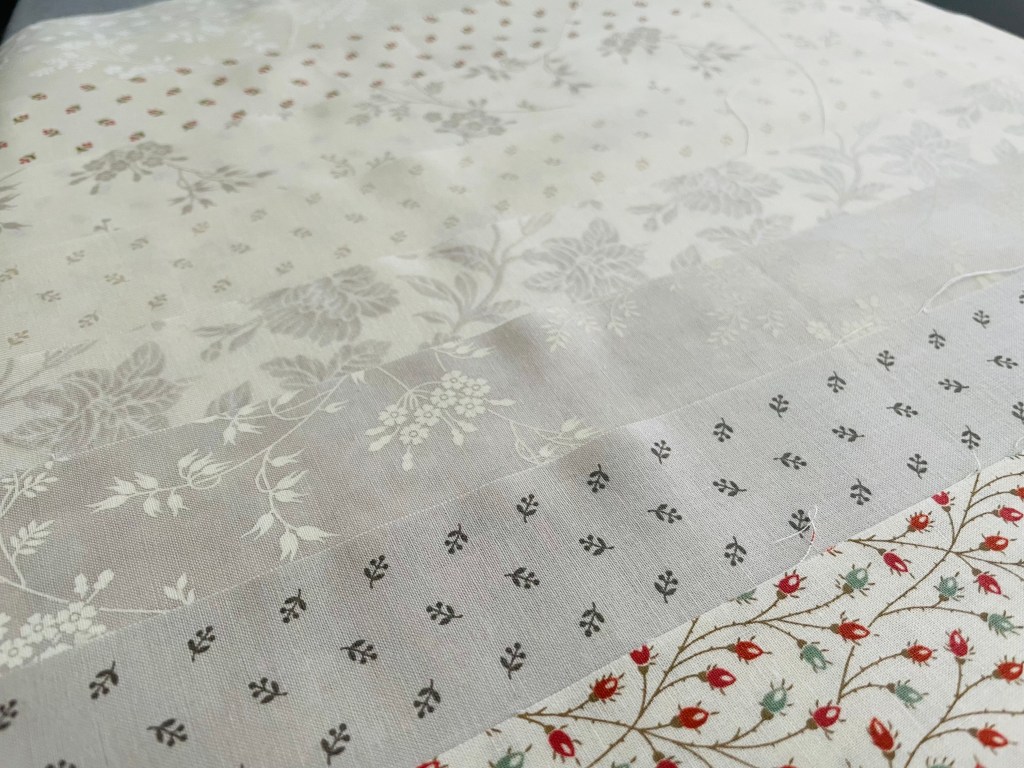
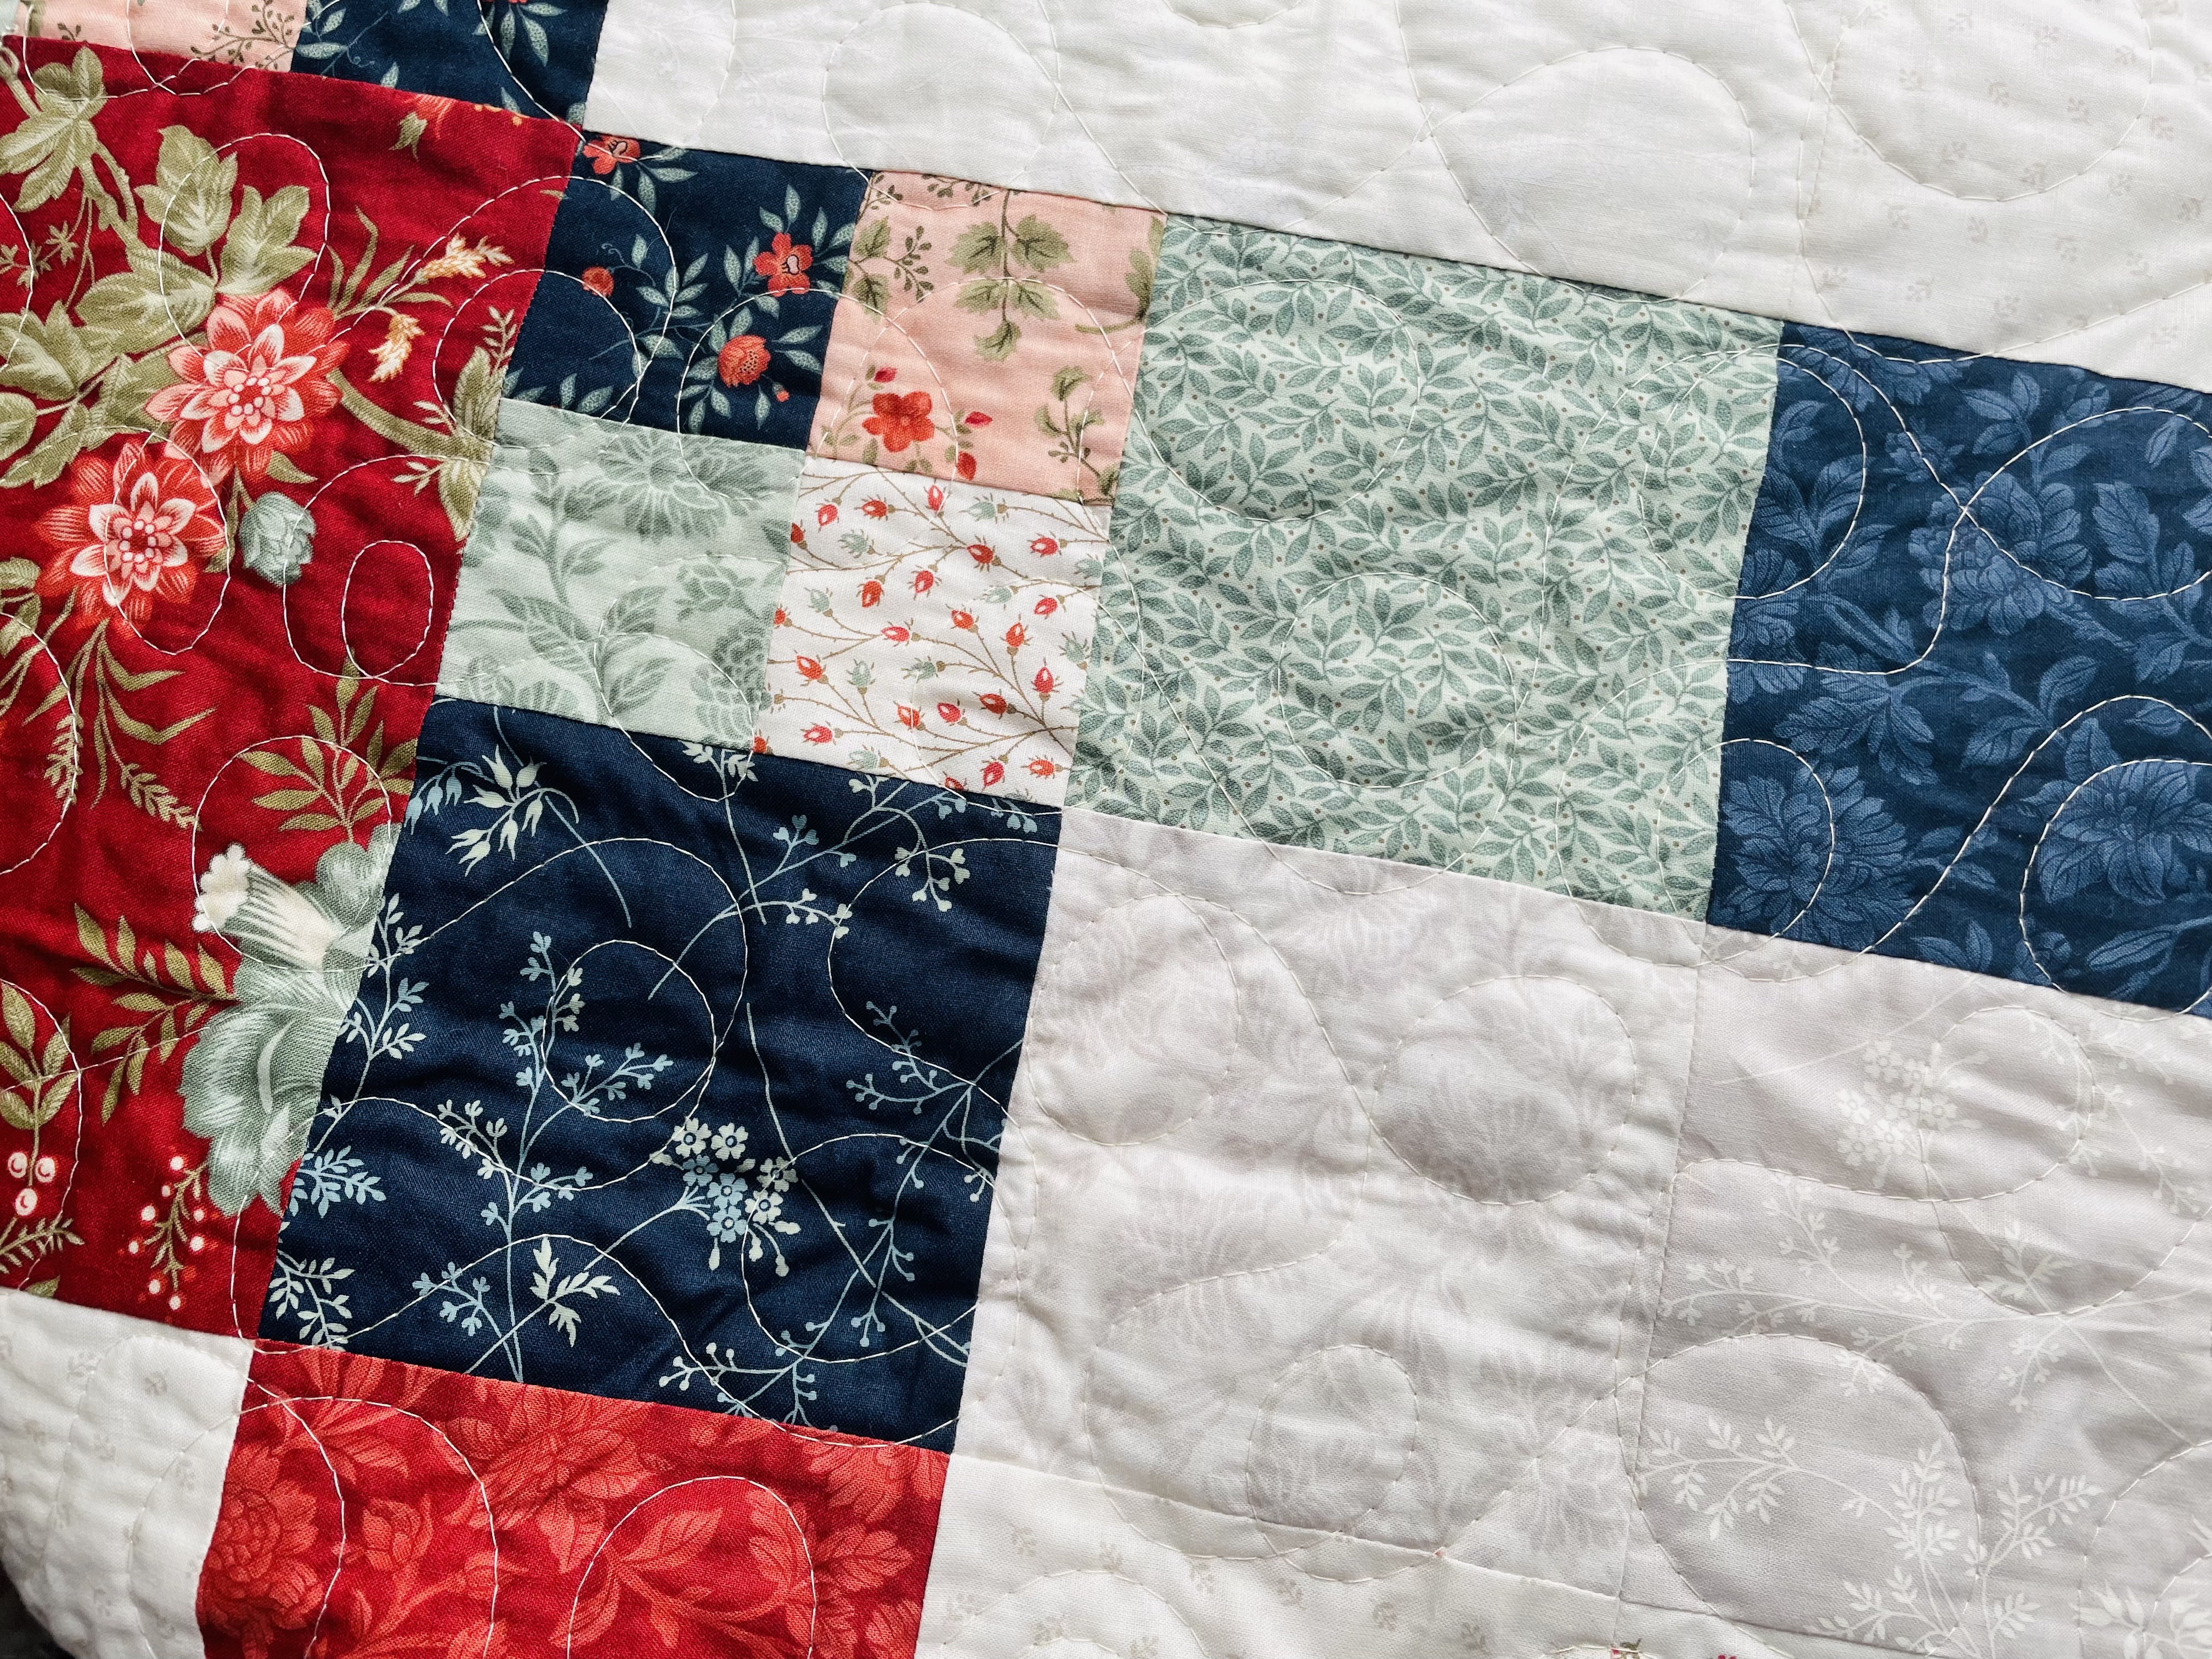
In order to achieve the look of Hopscotch it’s important to note where you are placing your light and dark fabric. You’ll also notice that I used different types of light fabrics to create a more scrappy look. With that in mind, the pattern is written with two simple blocks that will help the quilt go together easily.
Now I know everyone has different preferences on what they like to see in a quilt pattern. Some quilters like pressing suggestions and some quilters don’t need it. I personally like a simple quilt pattern that doesn’t look too cluttered and generally like to do my own thing when pressing quilt blocks. Not everyone is the same though! So let me show you how I pressed these two blocks.
To purchase the Hopscotch quilt pattern – click here!
Left Hops Block
To follow along, turn to page 4 in the Hopscotch Quilt Pattern! I’ve added arrows to each picture below to show which way to press.


Right Hops Block
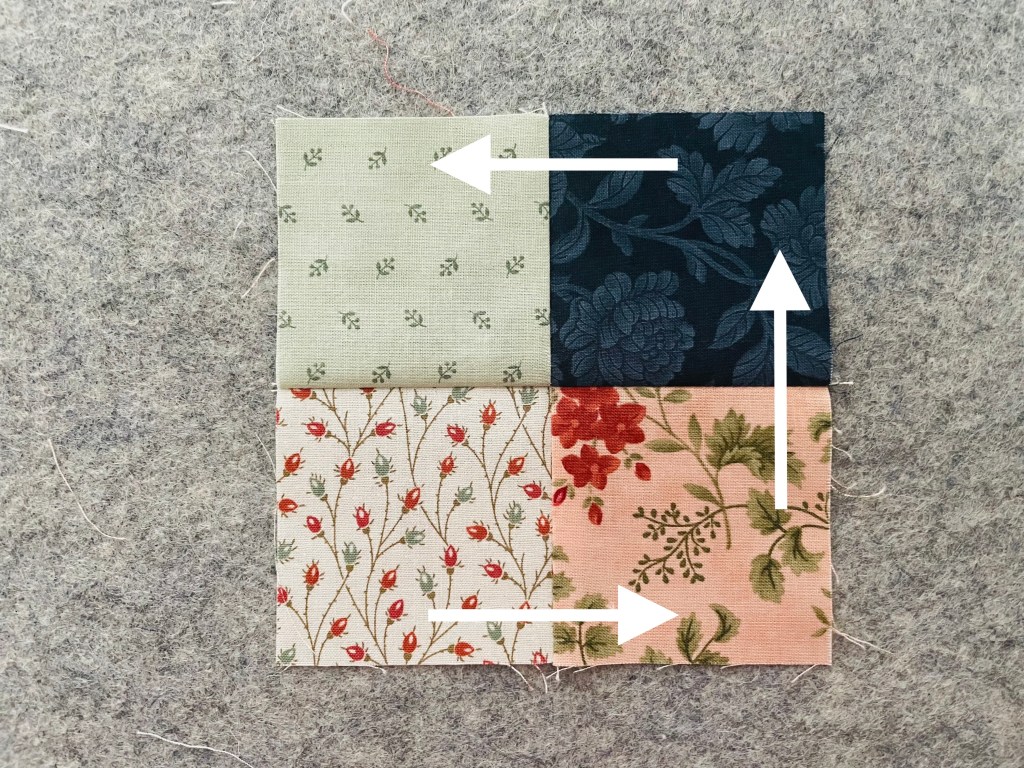
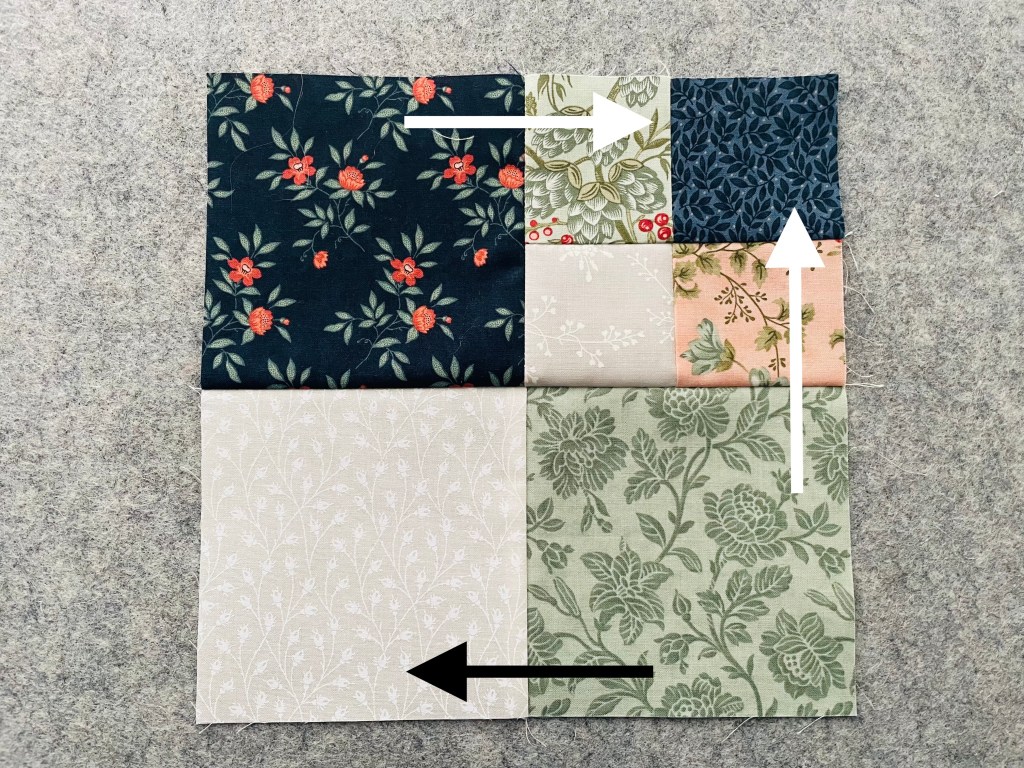
You’ll notice the Left Hops Block and Right Hops Block are pretty similar, but they are pressed very differently from each other so all those seams nest together.
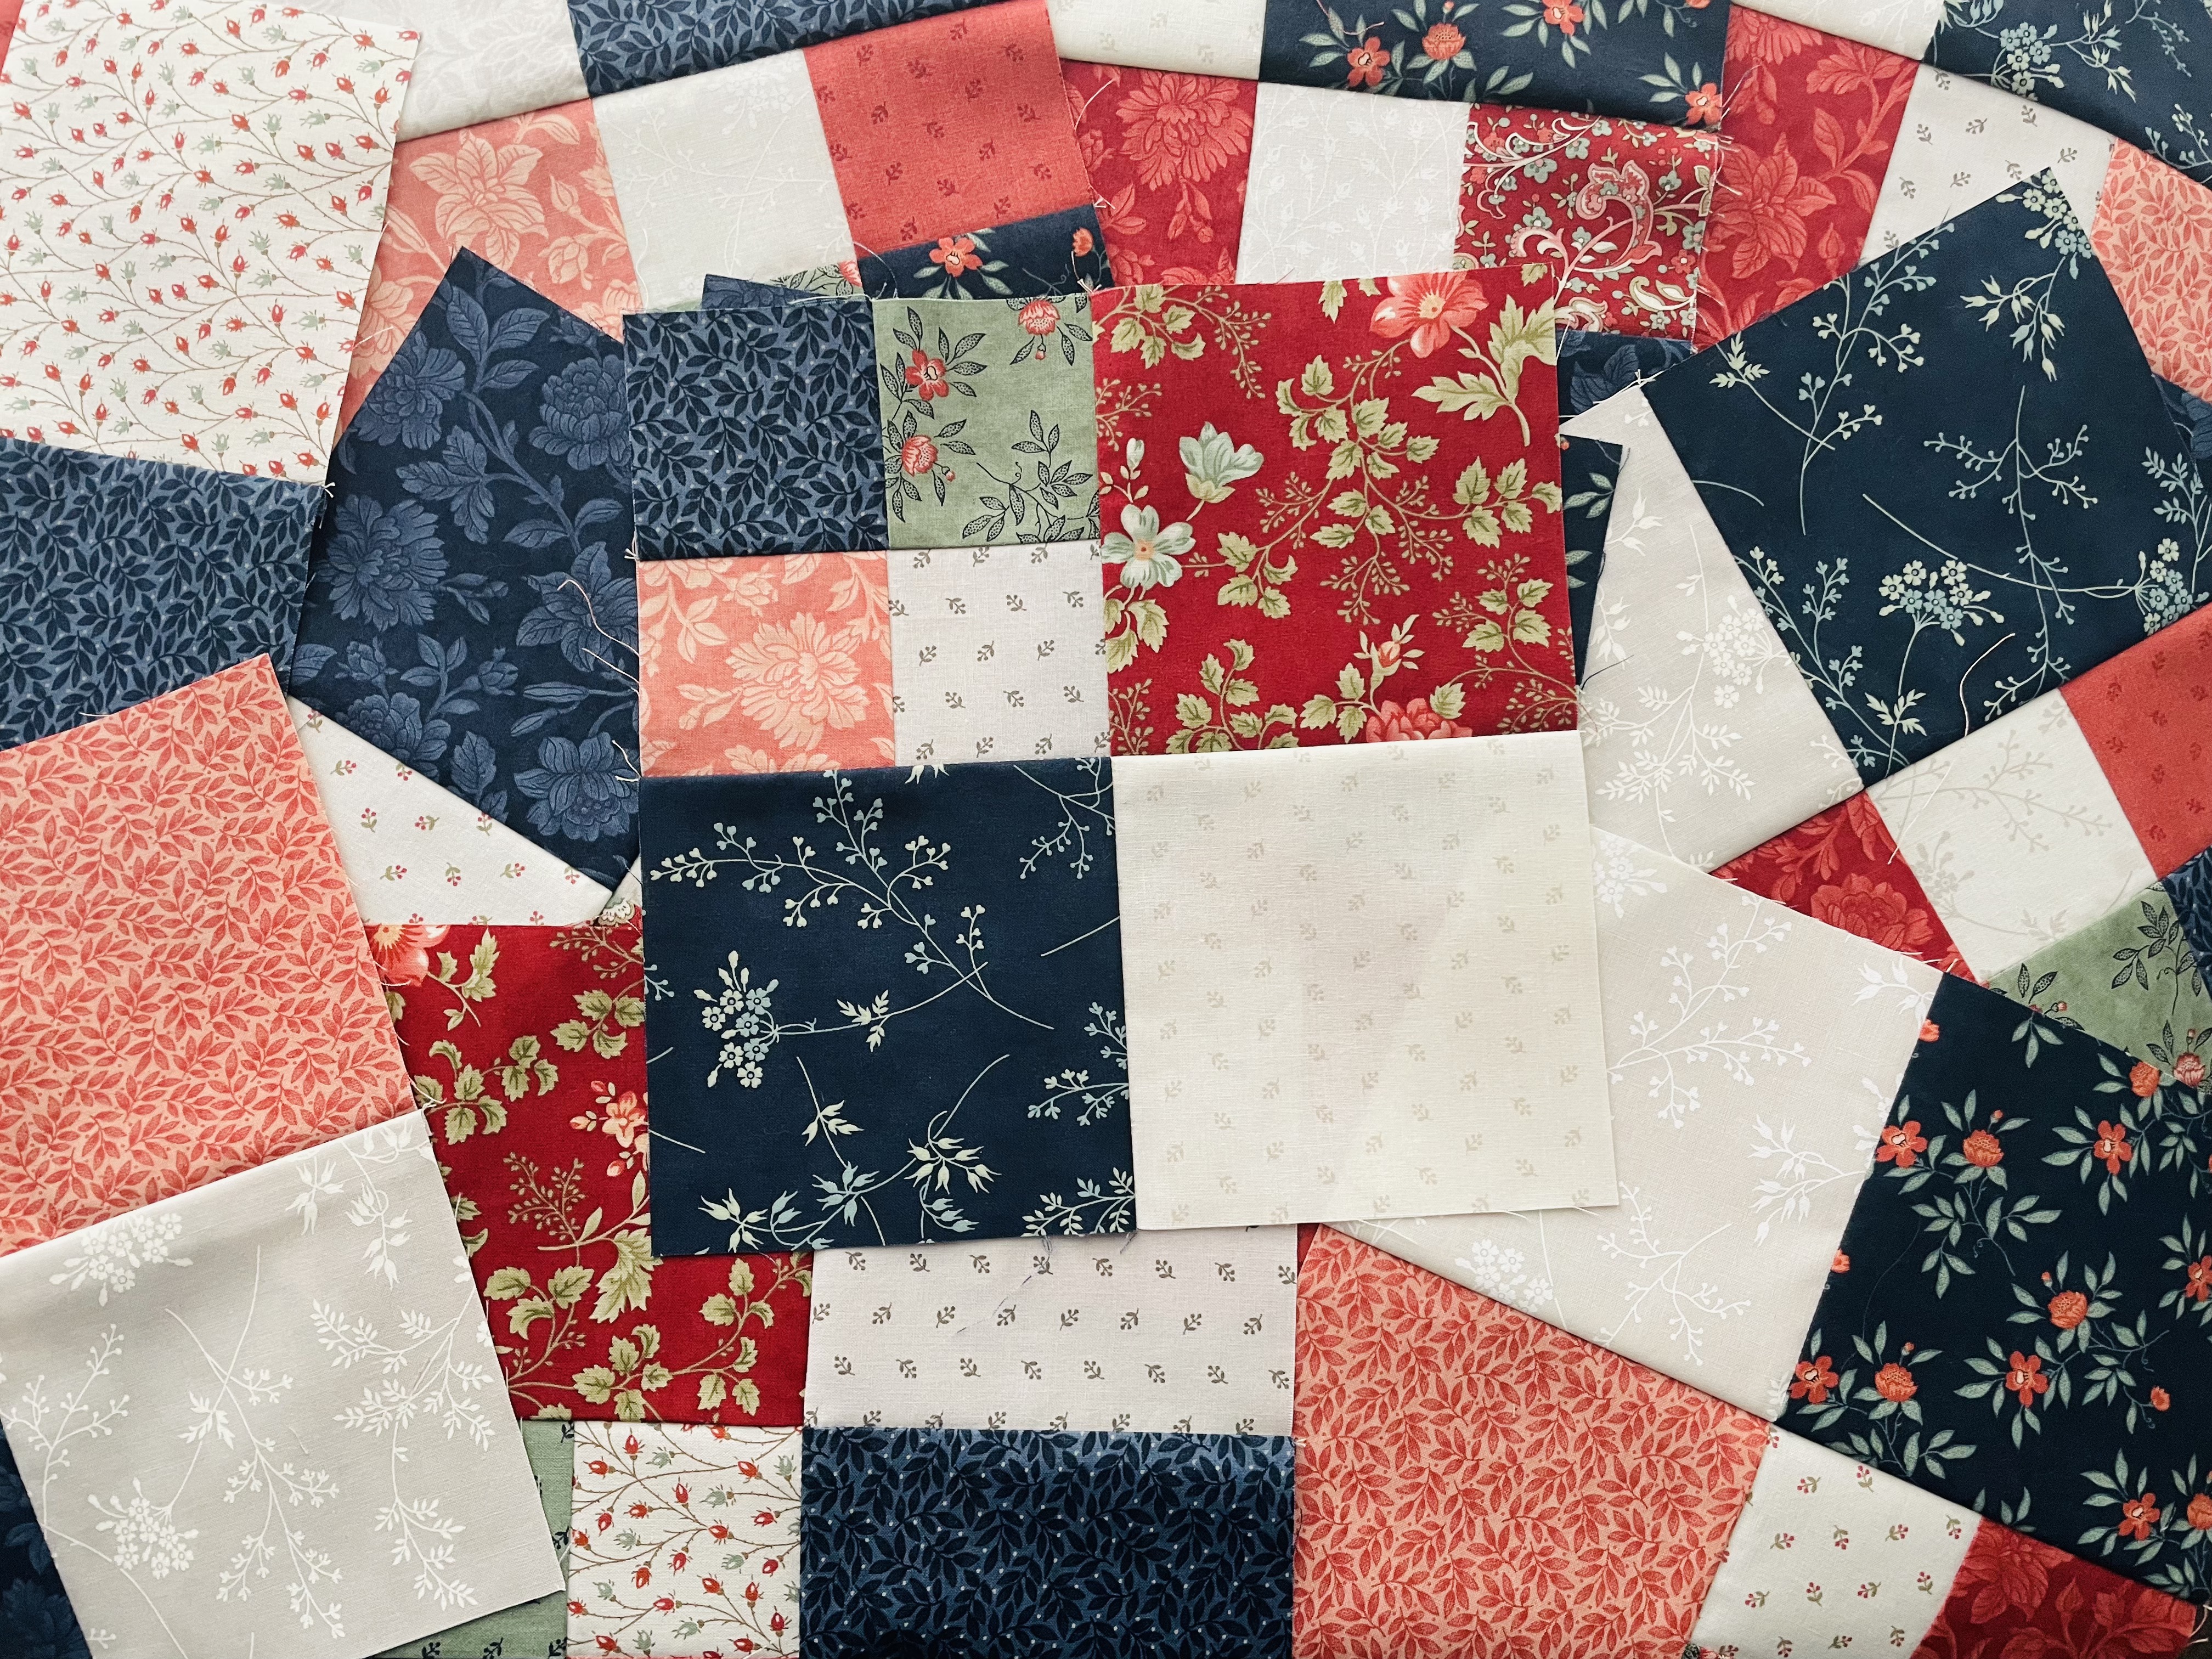
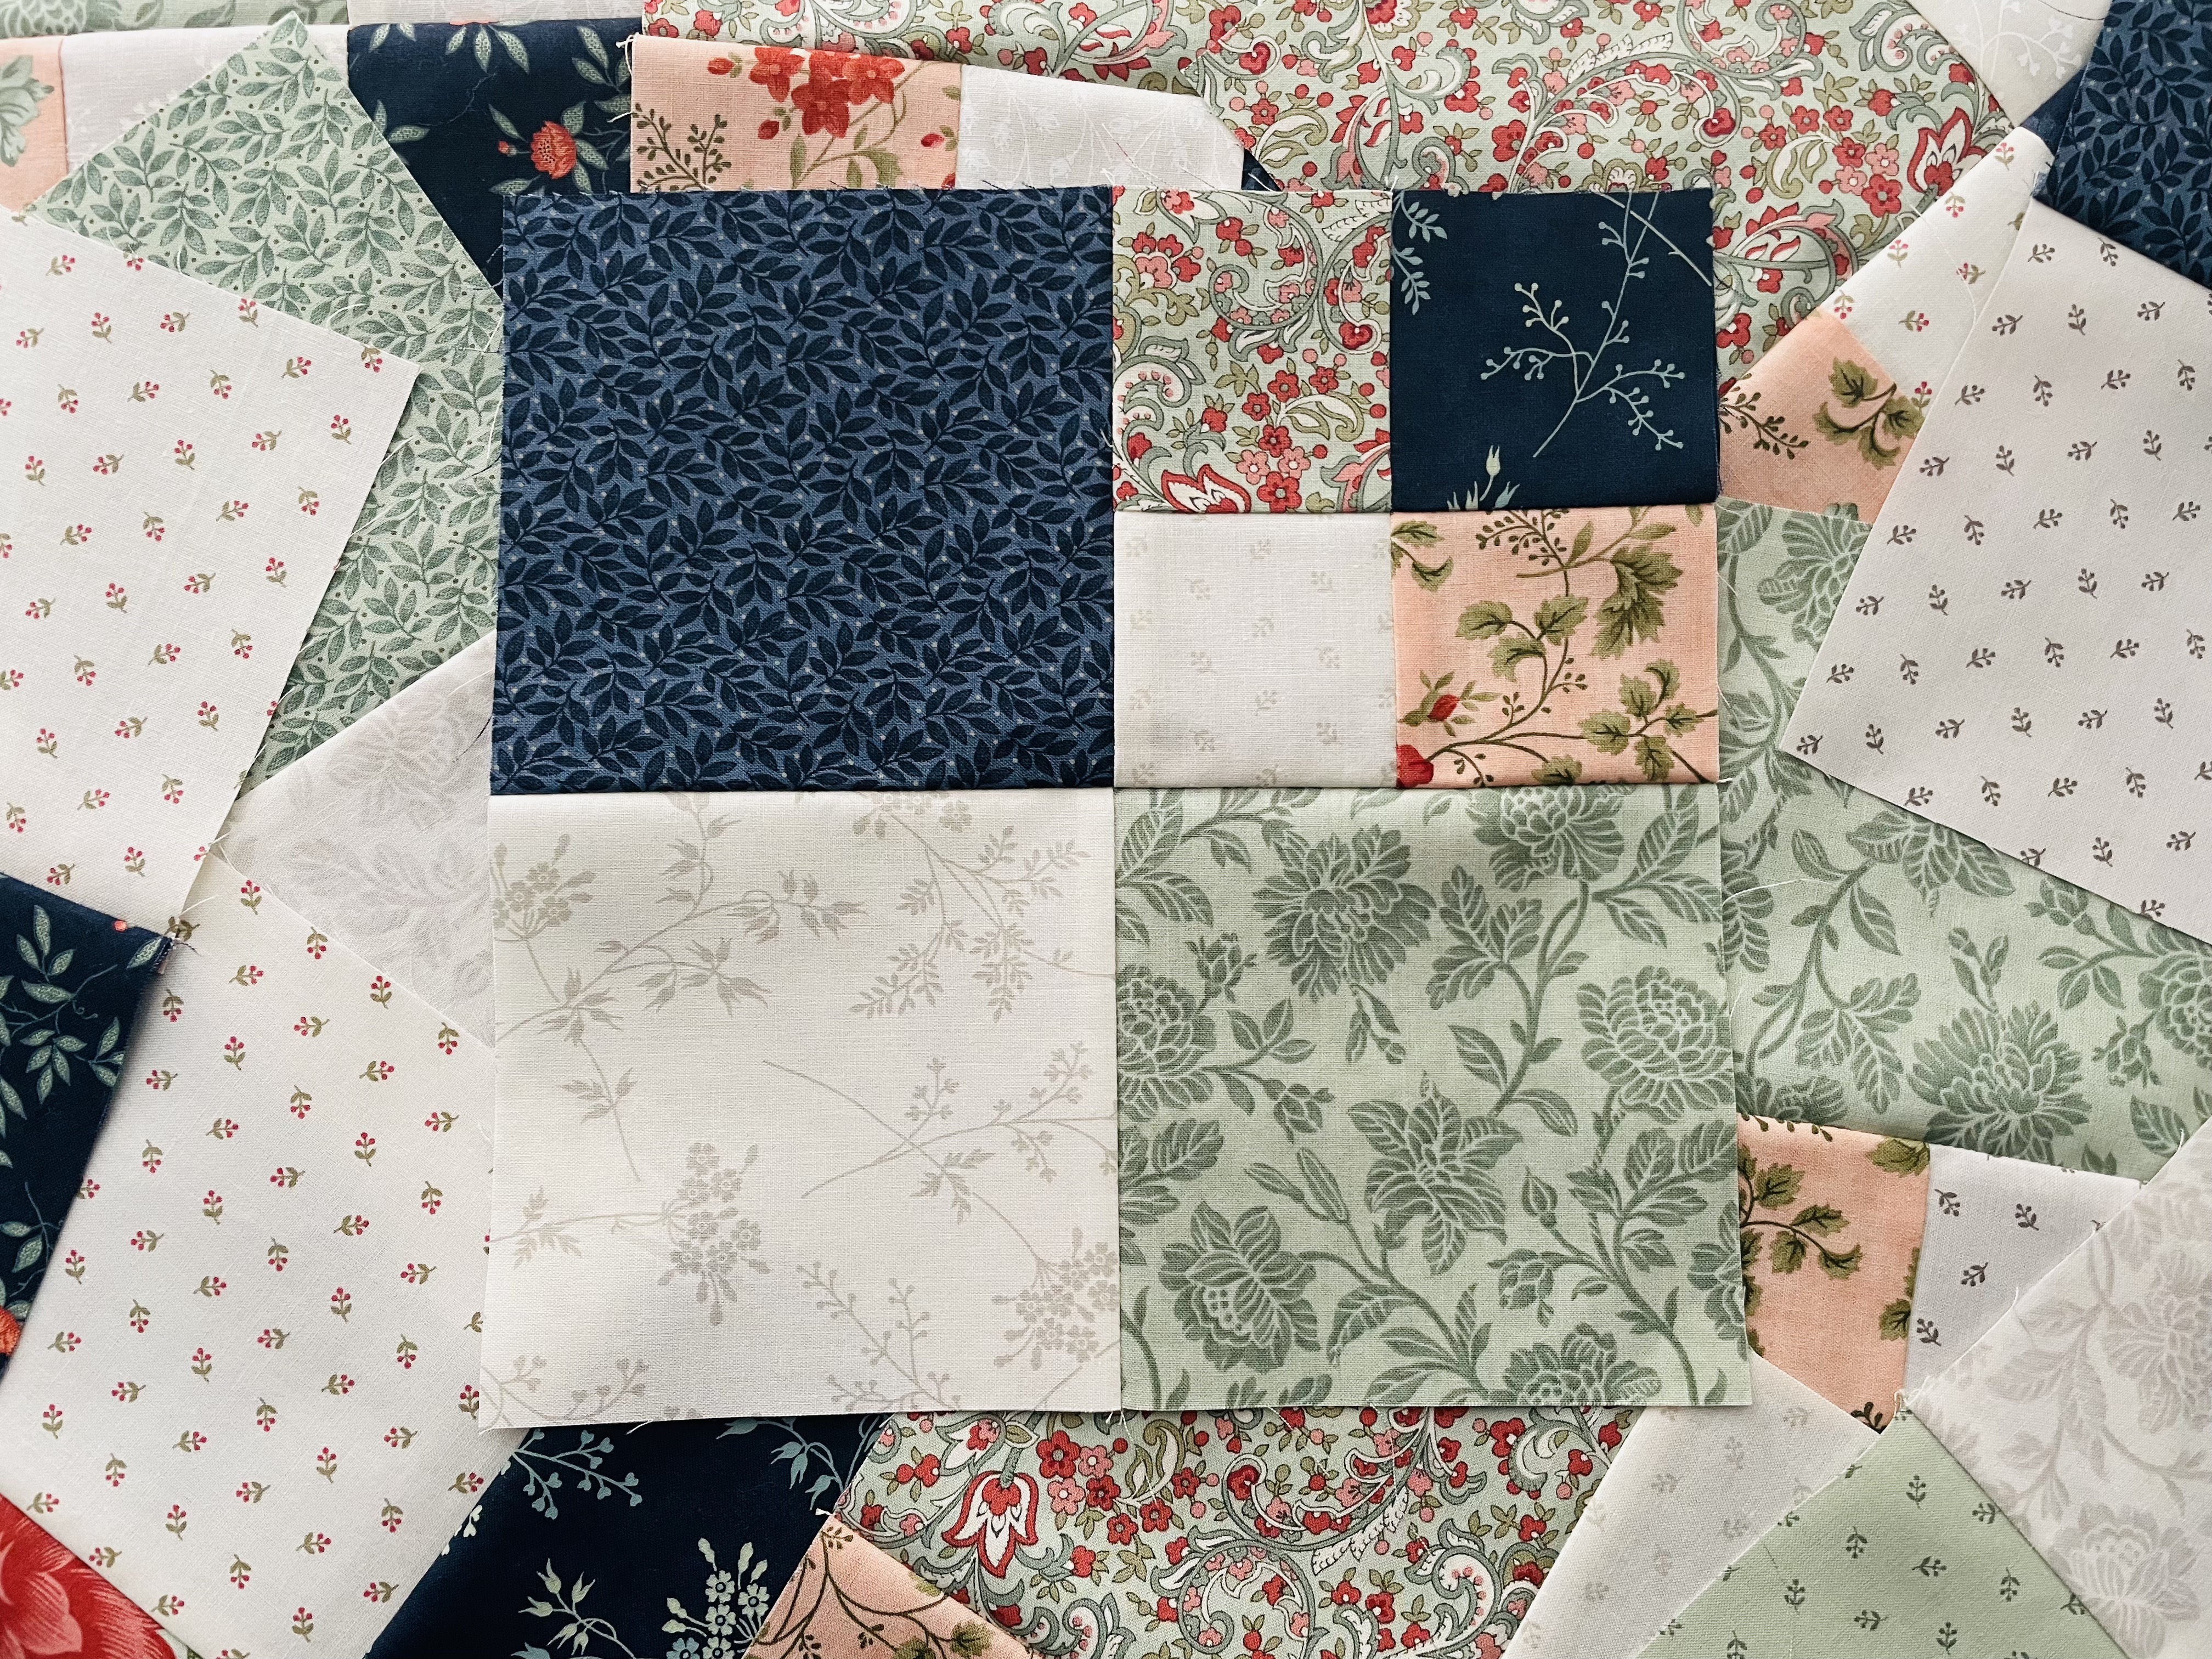
If you’re still with me, turn to page 5 of your pattern!

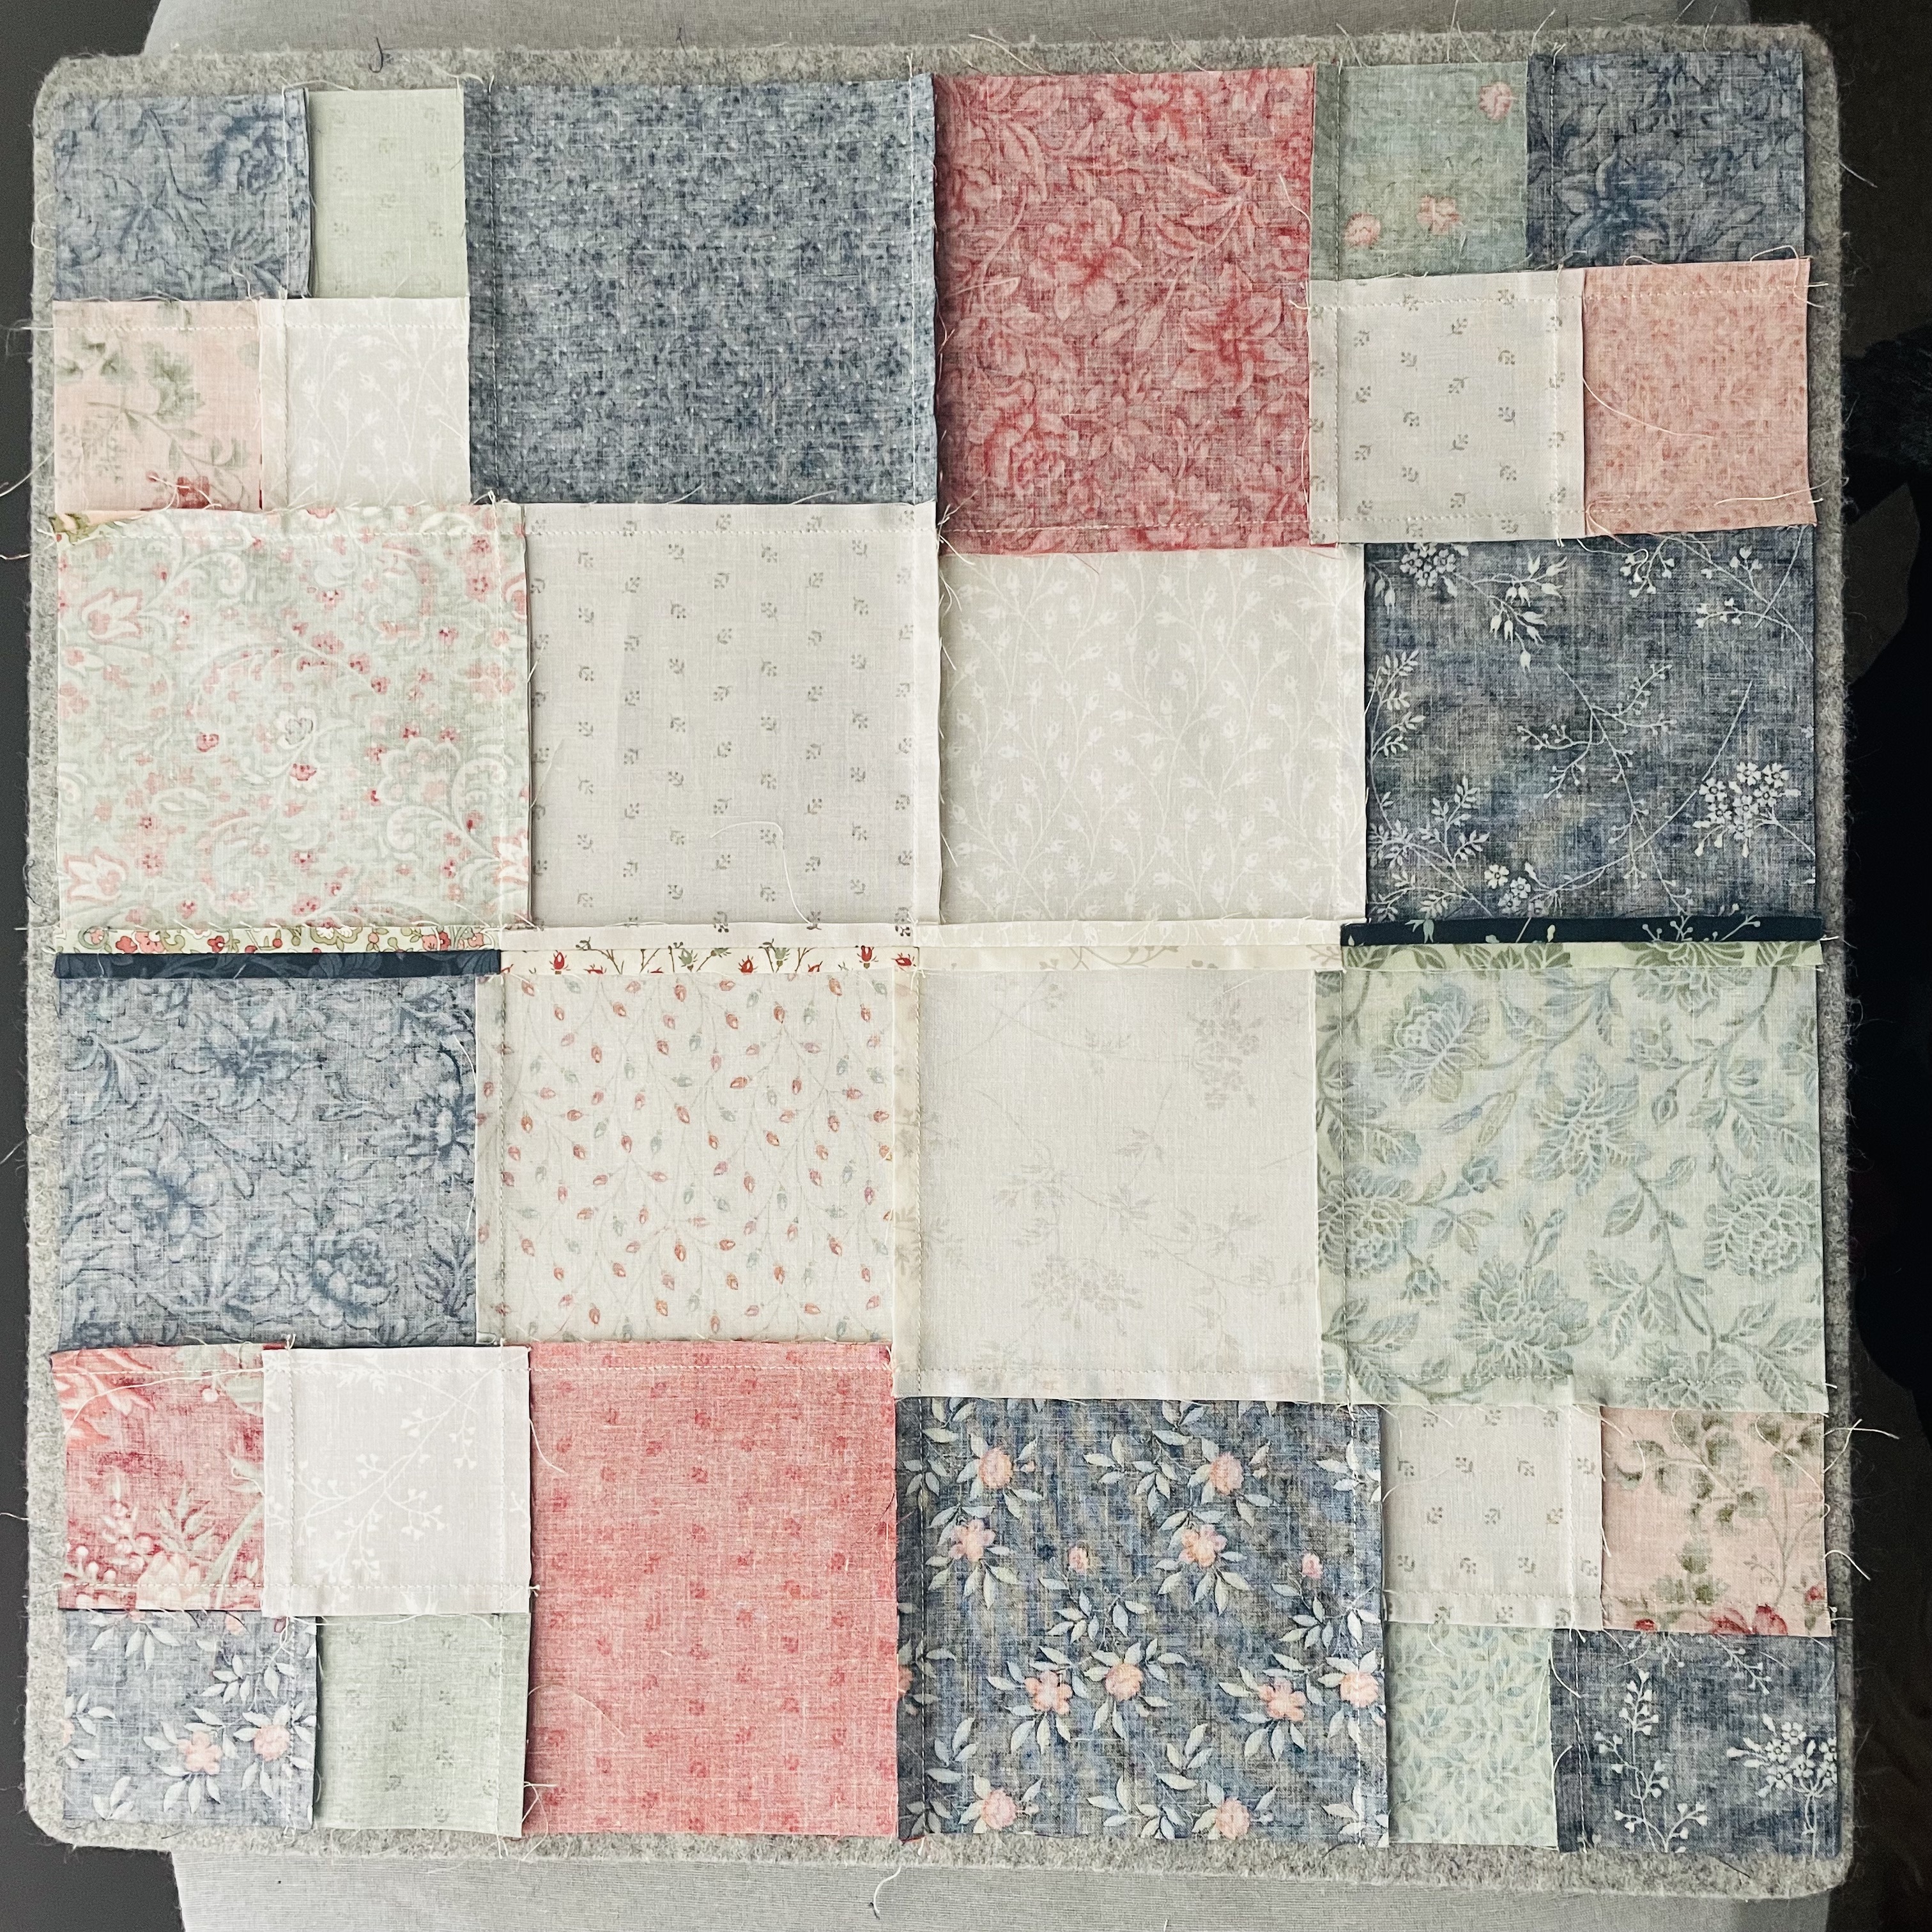
This is the part where you get to sew your blocks together to make bigger units. If you followed my pressing suggestions you’ll notice how everything nests beautifully!
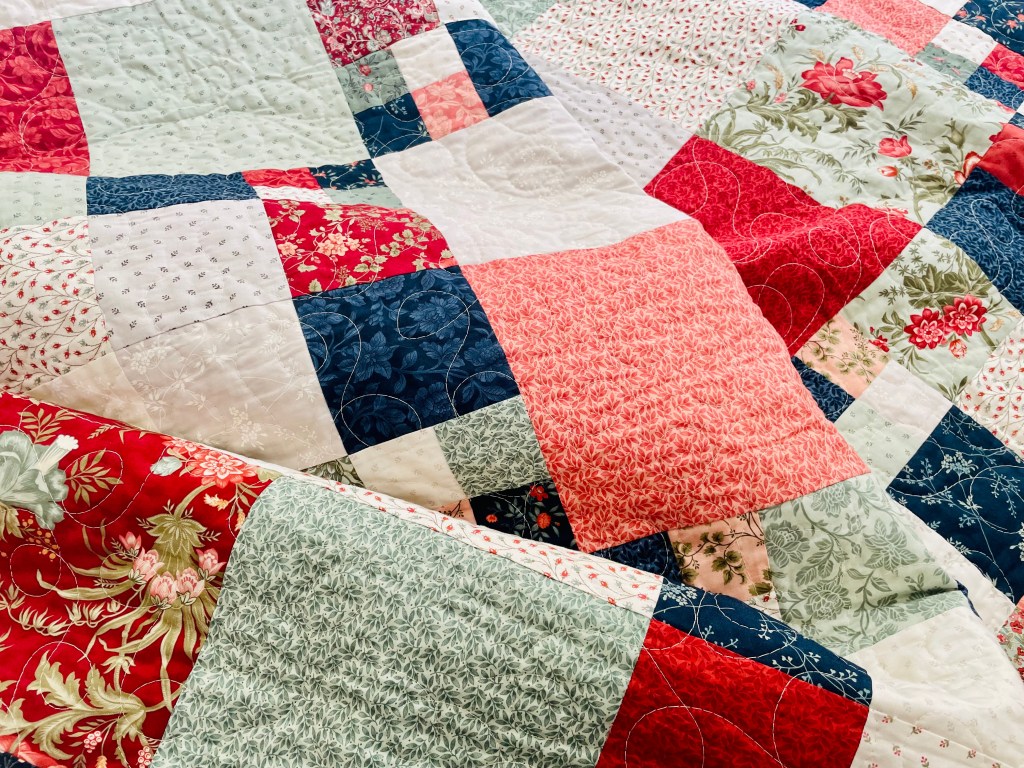
I hope you enjoyed a closer look at the Hopscotch quilt pattern and feel ready to sew this beginner friendly quilt! If you’re looking for more information, check out Stitch & Bear Time on Youtube. See you next time!
– Leslee
