Something that is very important to me as a quilter is to keep challenging and pushing myself to do new things with this craft. Though sometimes that can be scary and slow me down, it’s how I learn and grow as a quilter! So when making a beautiful blue and white quilt for my niece, I decided to do something different that I’ve never tried before. I finally used cuddle for the first time!
Cuddle
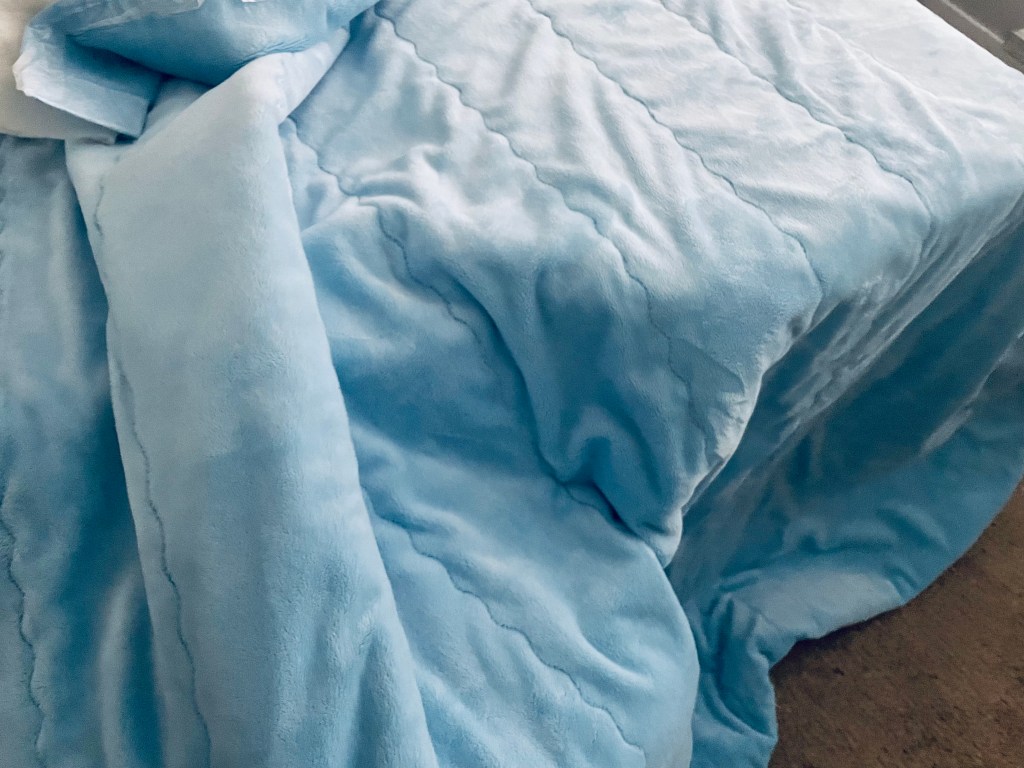
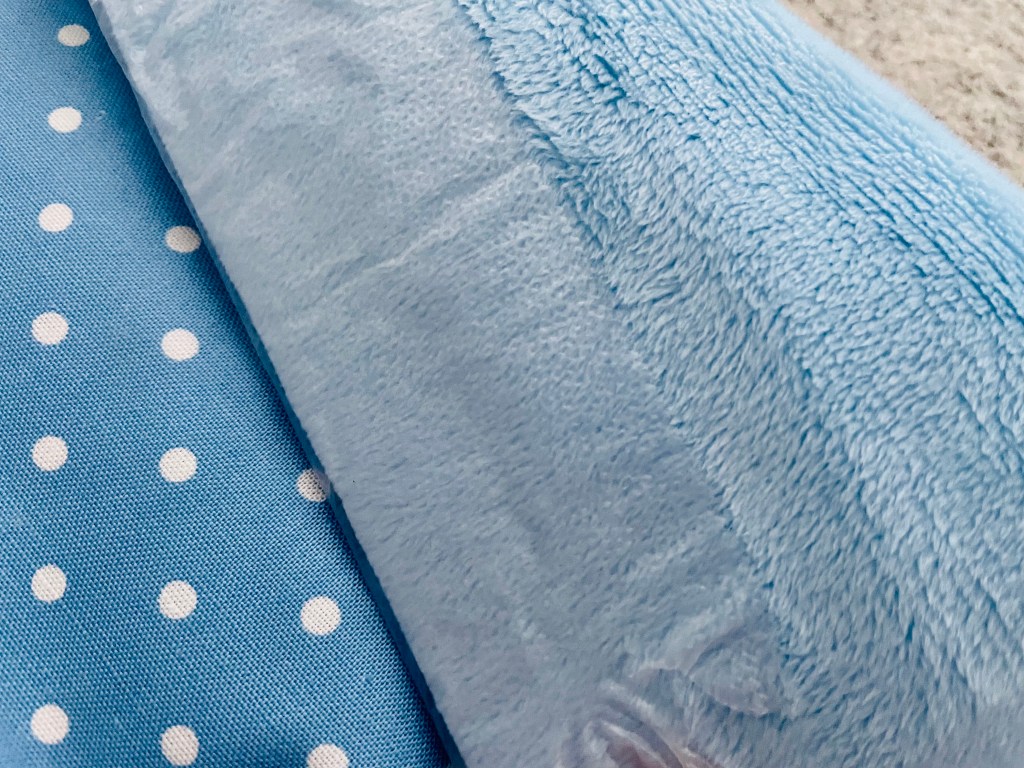
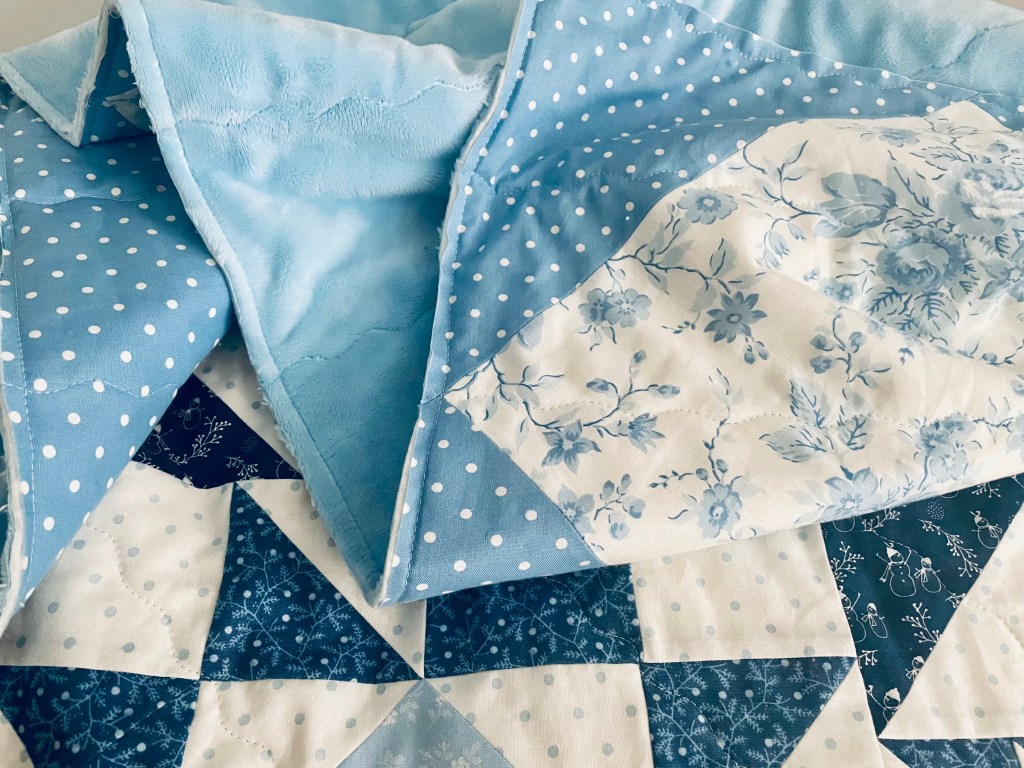
Cuddle is a very different fabric from quilter’s cotton. It’s a polyester fabric with a lot of stretch. When working with it, I found that it had the most stretch on the width of fabric and no stretch at all on the straight grain. Since it is so soft and stretchy, quilting it on a sit down domestic machine can become tricky. If cut incorrectly, you will also find your sewing room full of cuddle dust that comes off the edges. Knowing a few of these things meant it was time to do some research! So I gathered a bunch of tips and tricks from different people to help me work with this finicky fabric. I did find that Missouri Star Quilt Company had the best information on YouTube on to work with cuddle.
Ordering Supplies
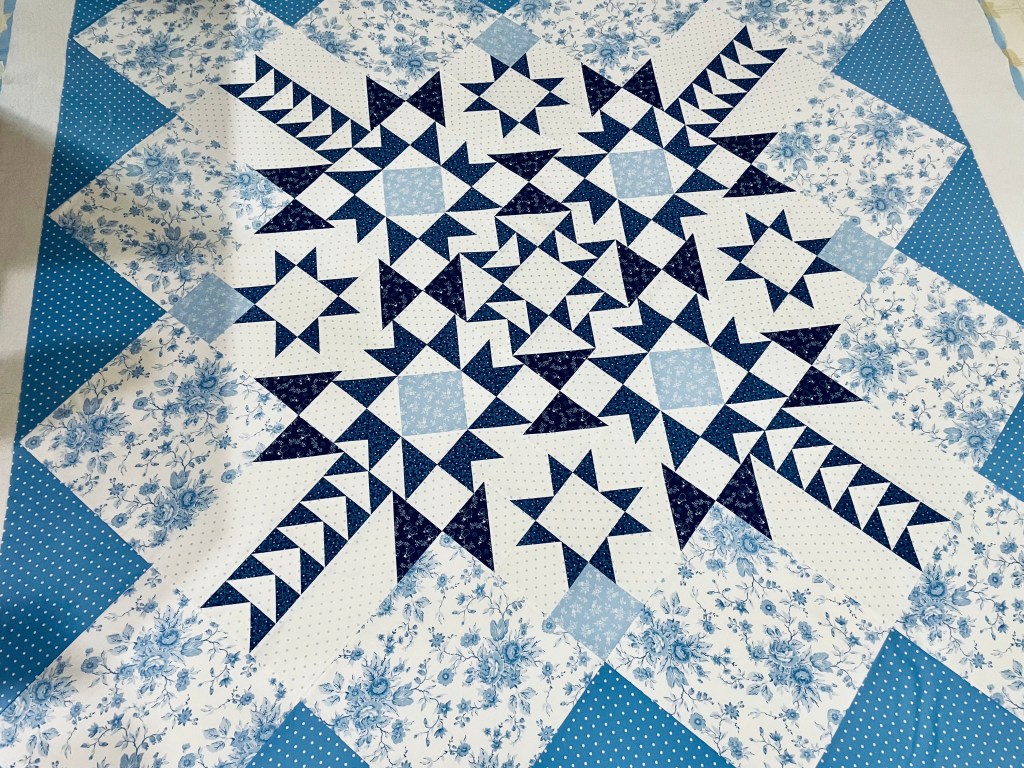
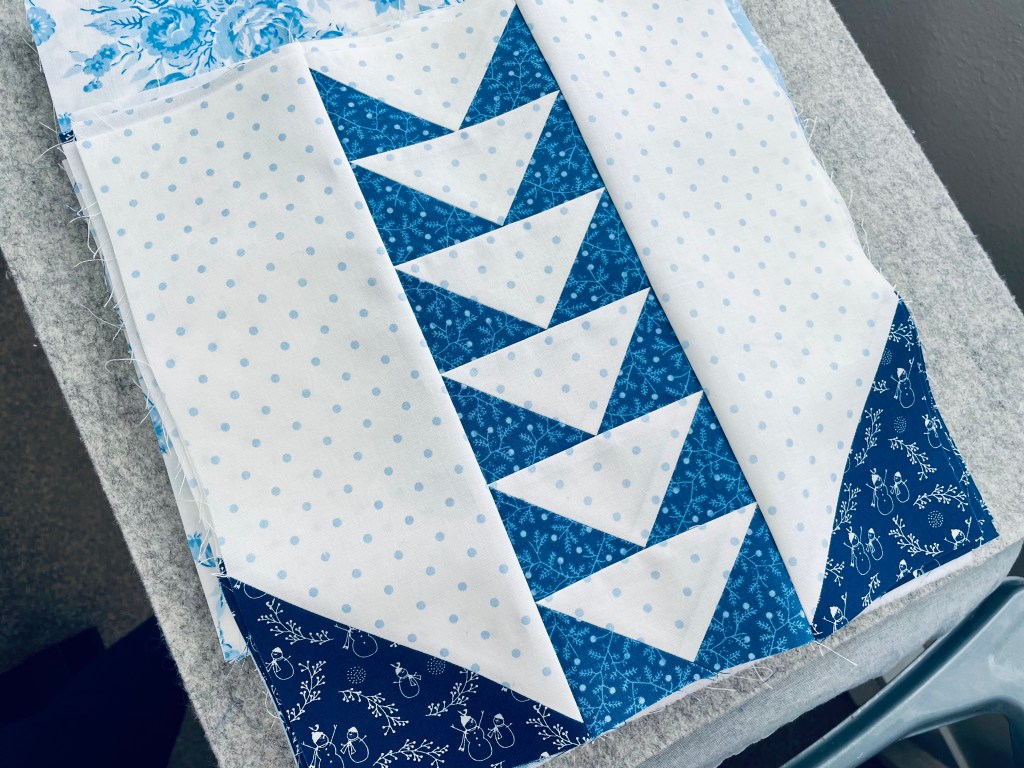
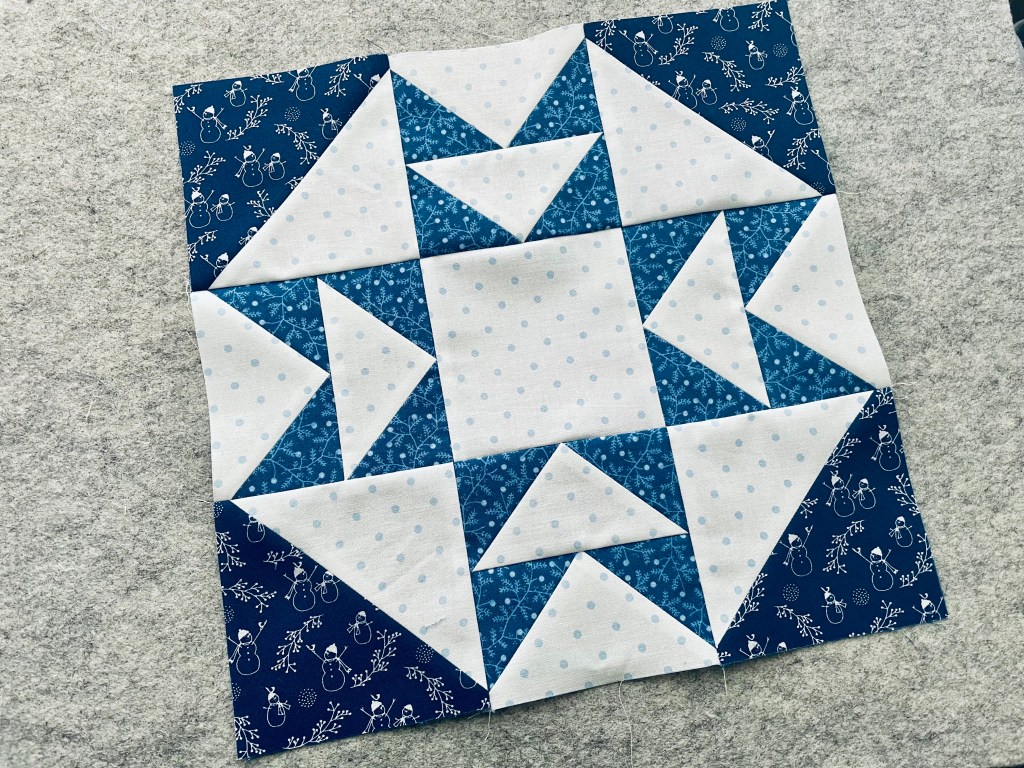
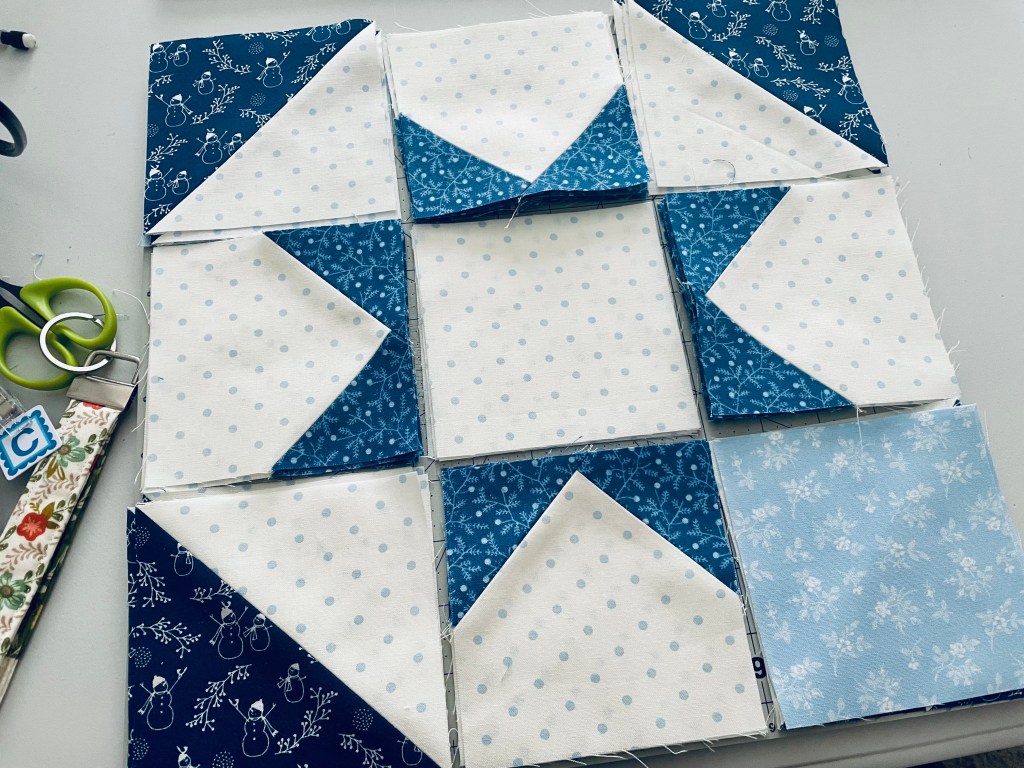
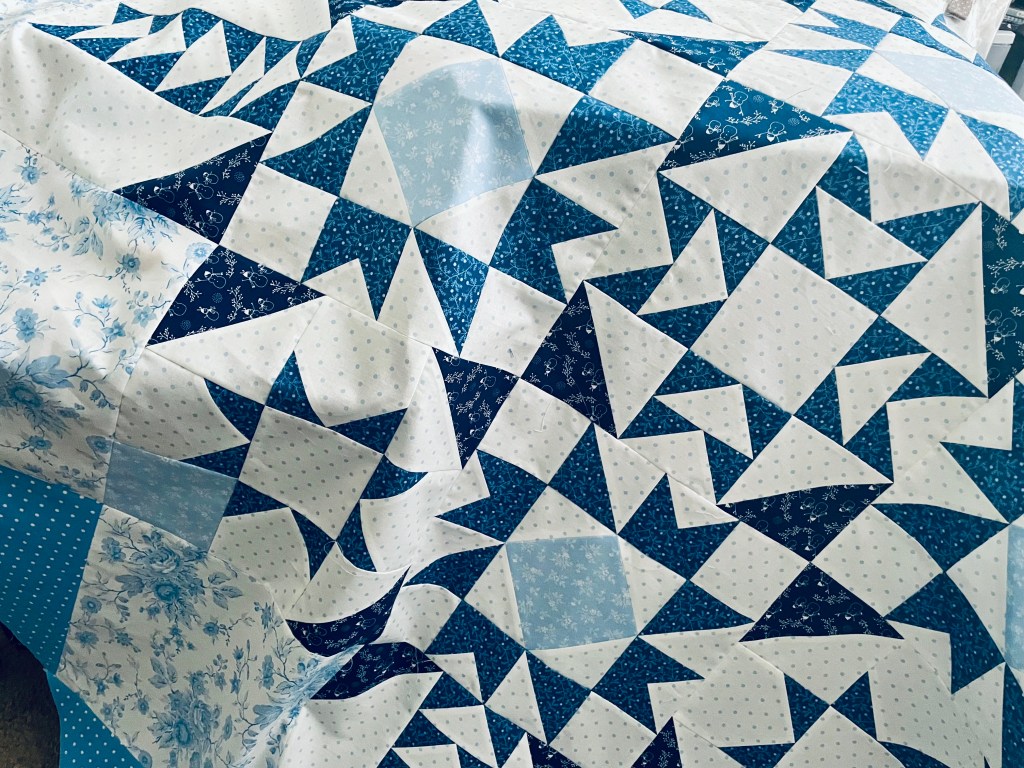
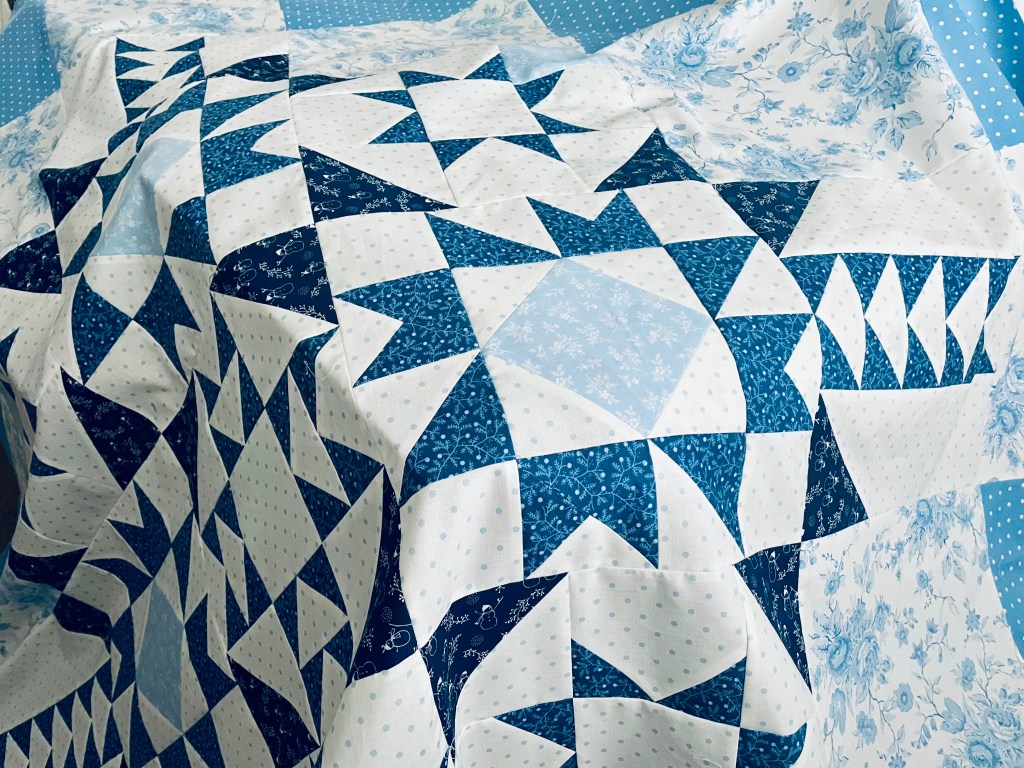
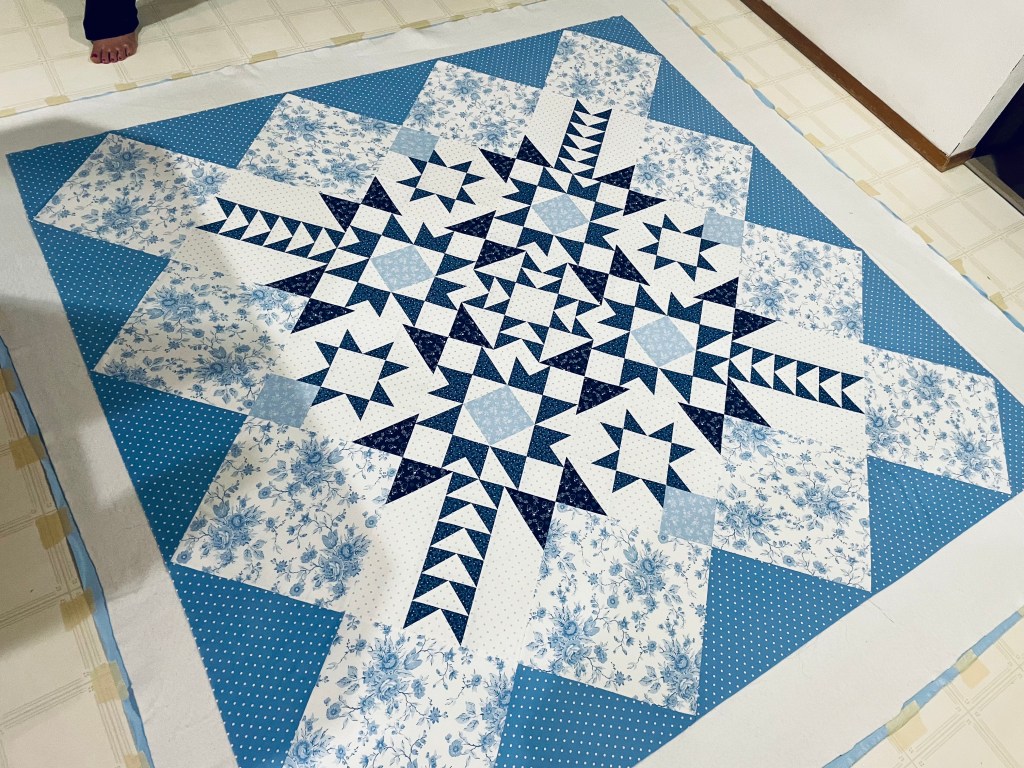
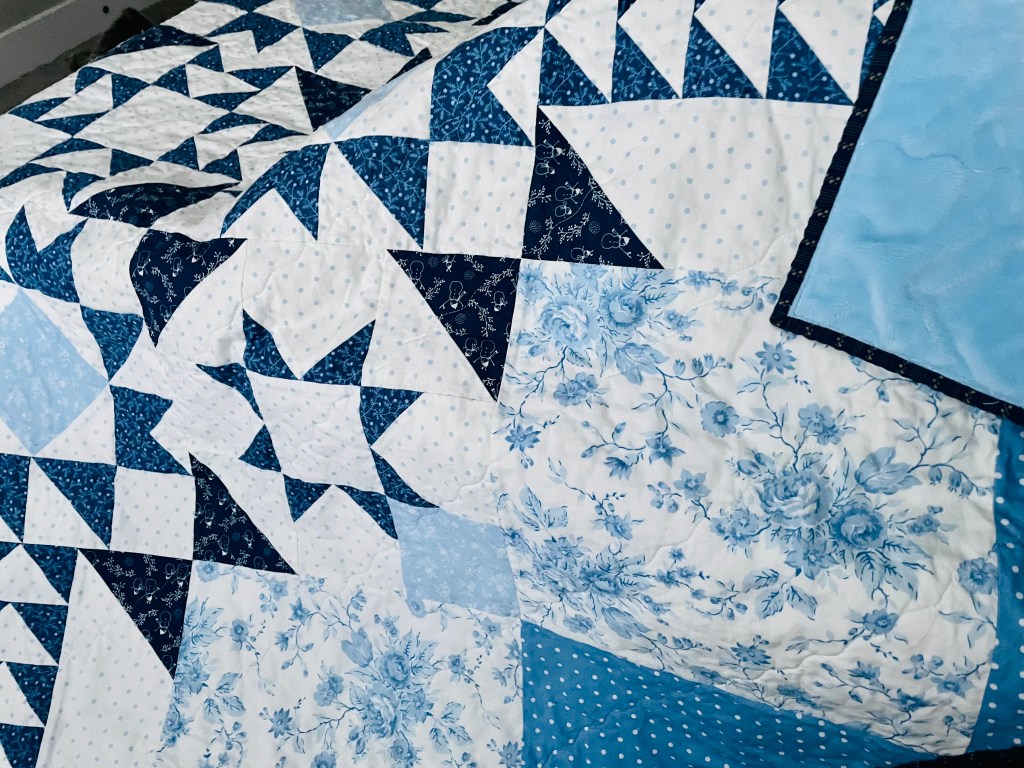
While making my quilt top there were a few things I needed to order to get prepared. I had to order new 6″ scissors, stretch needles, Glad Press’n Seal wrap, polyester 50 weight thread, and of course, cuddle! I found this baby blue 90″ extra wide cuddle on Fat Quarter Shop that worked perfectly with the colors of the quilt top. The best part about this find was that I didn’t need to piece my cuddle backing together and I would highly recommend you do the same! Here are a few pictures of the quilt top I sewed together in case you are interested.


Basting with Cuddle
When preparing the cuddle backing I had to cut some excess fabric off since the 90 inches was way to wide for what I needed. I had learned to cut cuddle only with scissors because of the mess it can make. I decided to try cutting a little piece of it with my rotary cutter to see the difference and that alone caused a huge ball of cuddle fluff to go everywhere! So I cut the rest of the cuddle with the 6″ scissors I bought and the cuddle dust was at a minimum. I then tossed the cuddle into the dryer for 10 minutes on a no heat cycle and found it truly eliminated the rest of the cuddle dust from shedding. Then it was time to baste!
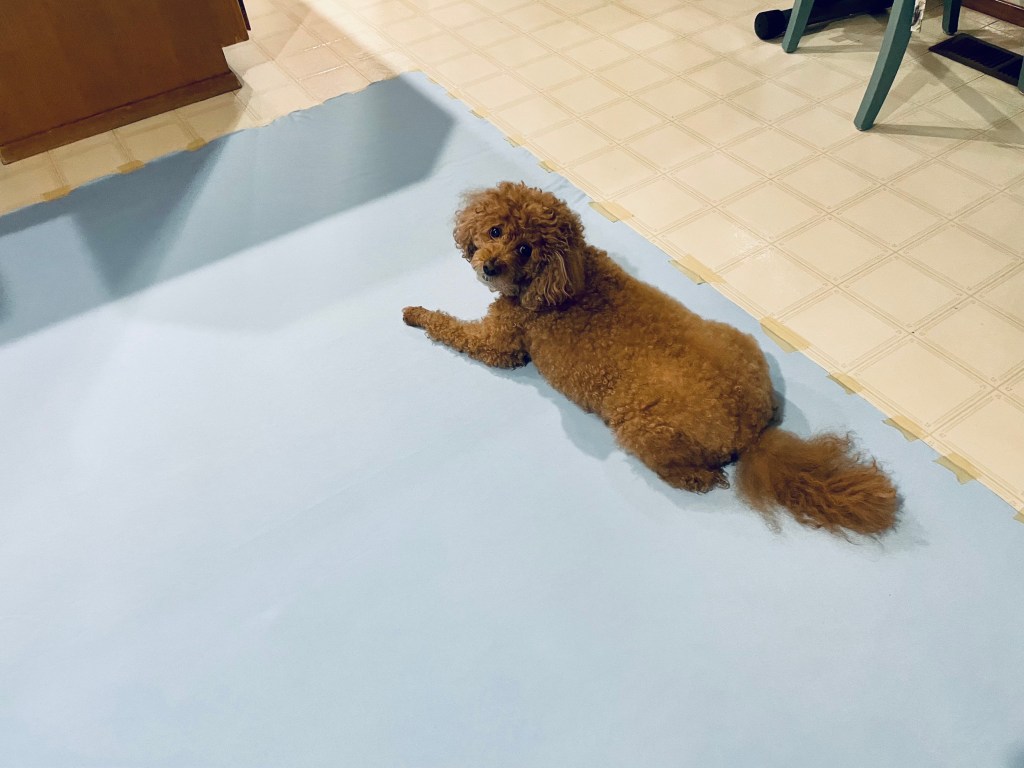
I taped the cuddle onto the kitchen floor with masking tape. As you can see, my mom’s dog, Angel, really liked the cuddle as well! I then spray basted the batting and quilt top to make the quilt sandwich and finally finished it off with safety pins around the edges.
I knew I was quilting this on a sit down sewing machine and was worried that all the movement would cause the edges to shed more cuddle dust. As a solution, I attached Glad Press’n Seal all around the edges of the cuddle and it stayed on amazingly well and was easy to take off later.
Quilting with Cuddle
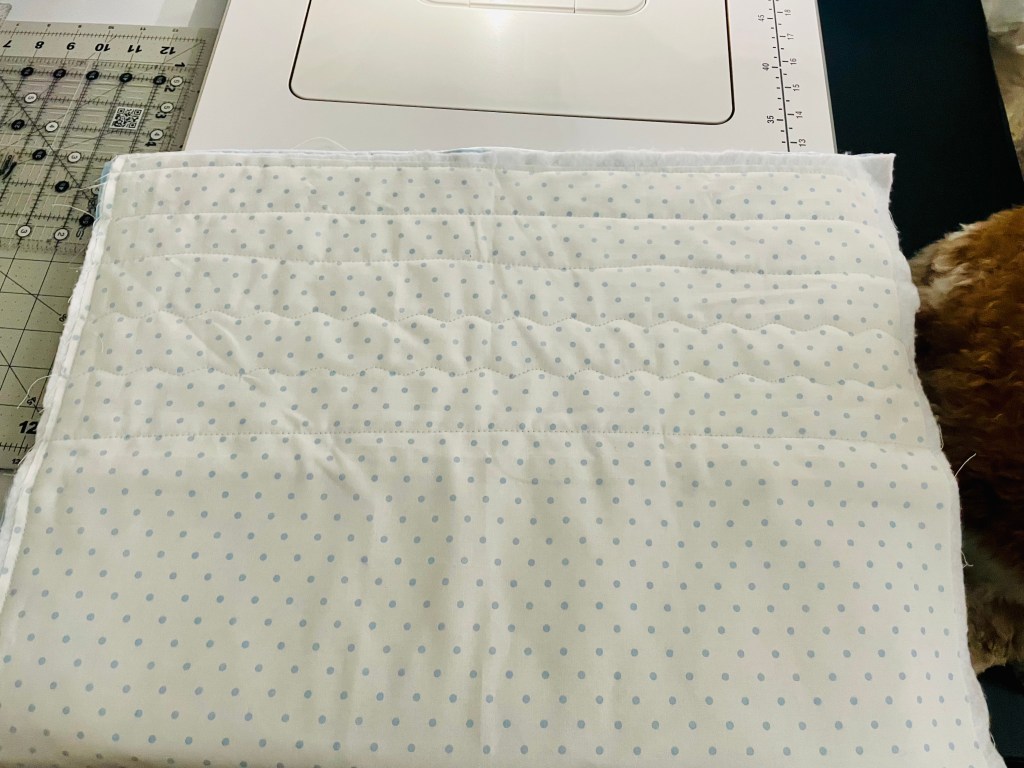
Now that the quilt was basted it was time to make a mini version for practice! I then put a 90/14 stretch needle on my sewing machine with light blue polyester thread, and used a walking foot that was set to a wave stitch. I kept the stitch length to a 3.5 and took the quilting slow! You can see all the lines and waves on the practice piece I made. I am so glad I decided to use a practice piece first because this is where I discovered that if I quilted on the straight grain, I would have less stretch to deal with from the cuddle. I do believe that quilting on the straight grain of the cuddle fabric is what gave me great results!
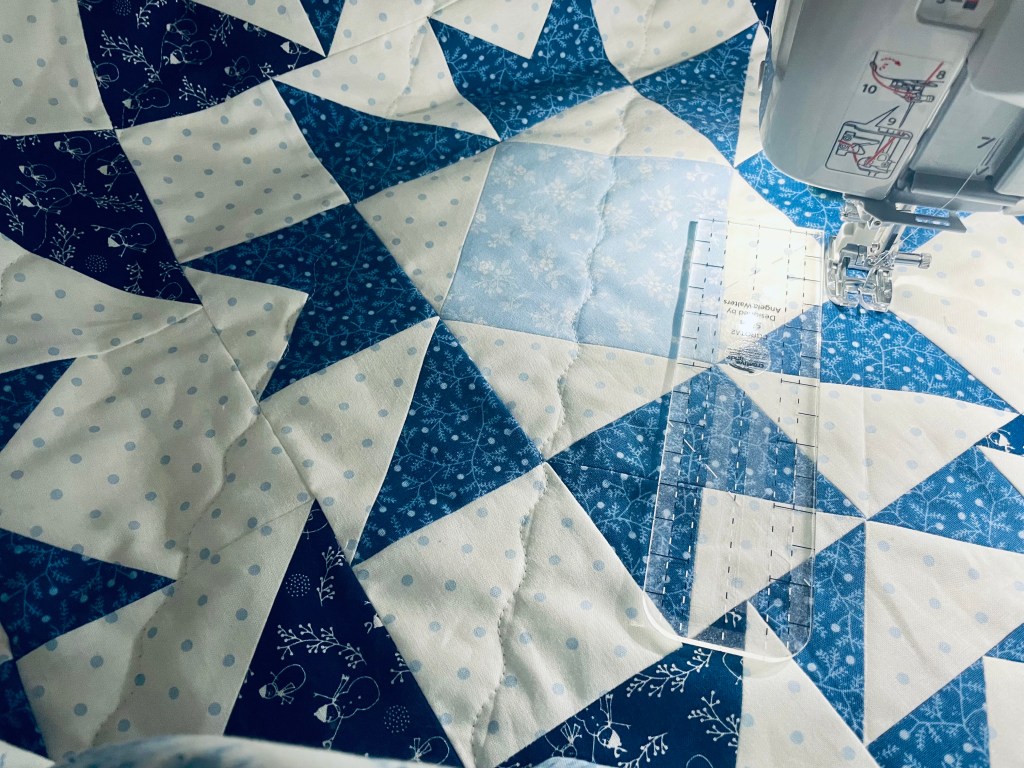
With the real quilt I used a Clover Hera Marker to mark out my lines so they would be evenly spaced. This is a great option for marking because I have heard too many horror stories on wash away marks not coming out of people’s quilts once washed. Hera Markers are great because they put a crease in the fabric that will last as long as you need it to and will come out once it is washed. I took my time quilting and always quilted in the same direction; starting from the stop and ending at the bottom. As you can see, I got great results!

Once I finished quilting, I did attached my binding with polyester thread and still used a stretch needle. The binding did feel my thicker than usual because of the cuddle, but was otherwise easy to attach if done by machine. I don’t know if I have ever mentioned this, but I don’t hand bind my quilts. So if you hand bind, you may feel differently about this step!
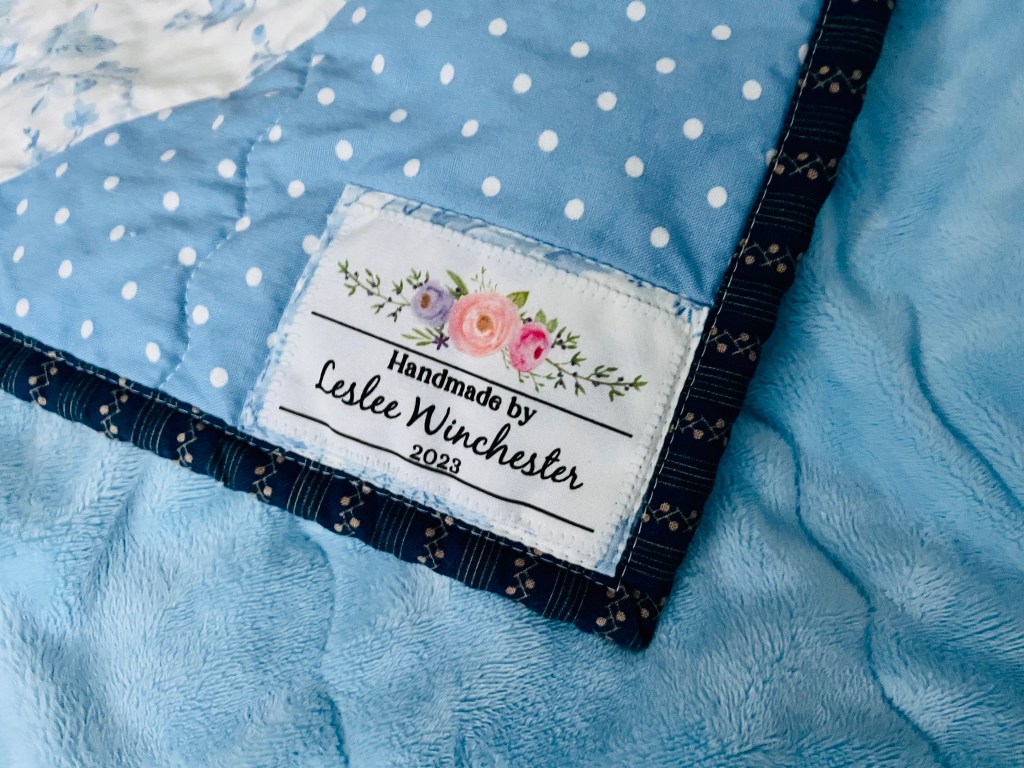
Usually I attach my labels to the back of my quilts, but I decided to do something different this time. I wasn’t sure if I wanted my label attached to the cuddle since it was my first time using it. My alternative was to place it on the front bottom right of my quilt and border it with left over fabric to help it blend in a little. I found that I actually really love the look of this since my label didn’t get quilted over and may continue to do this in the future with other quilts.
Well what do you think? I love it! If cuddle wasn’t such a pain to work with I would put it on the back of all my quilts! The drape on this quilt was amazing, it was snuggly and warm, and suddenly my whole family wanted a cuddle quilt. Great! Maybe one day I’ll do that when I get my own long arm. For now though, I think I’ll stick with cotton for my backings.
Let me know what you think of cuddle in the comments below! Have you used cuddle before? Are you willing to give it a try? I would love to know other tips and tricks that people have found! Happy quilting!
– Leslee
