It’s time to get organized! Now that the rain is here and the birds are out to play, I am in the mood for some spring cleaning. I have a plan written out on how I’m going to clean out my whole house and I’m starting with the BEST room, the sewing room!
Now I’m sure all of you have the most organized and clean sewings rooms out there, right? HA! I’m kidding. What’s the fun in that?
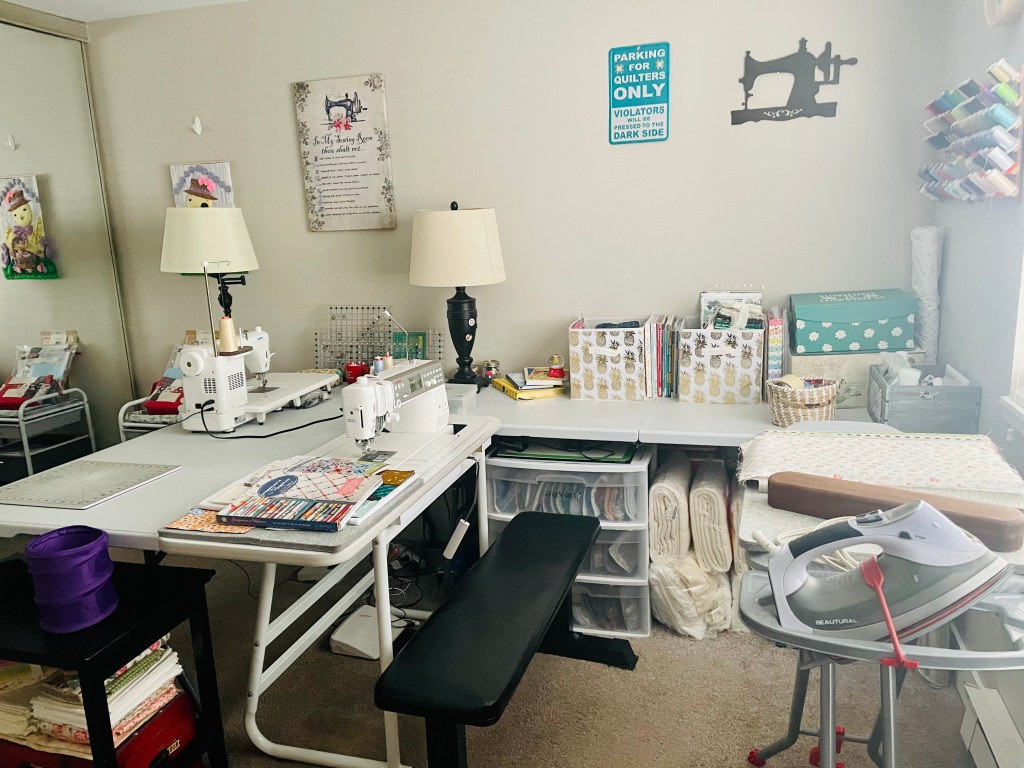
Quilting is an art and that can get a little messy. With all the new fabric that comes home with me and the scraps that get shoved into any corner I can find, my sewing room has become a one woman quilt shop for just myself. I don’t even know where anything is anymore. So let’s be completely candid here and show you the dreaded before pictures.
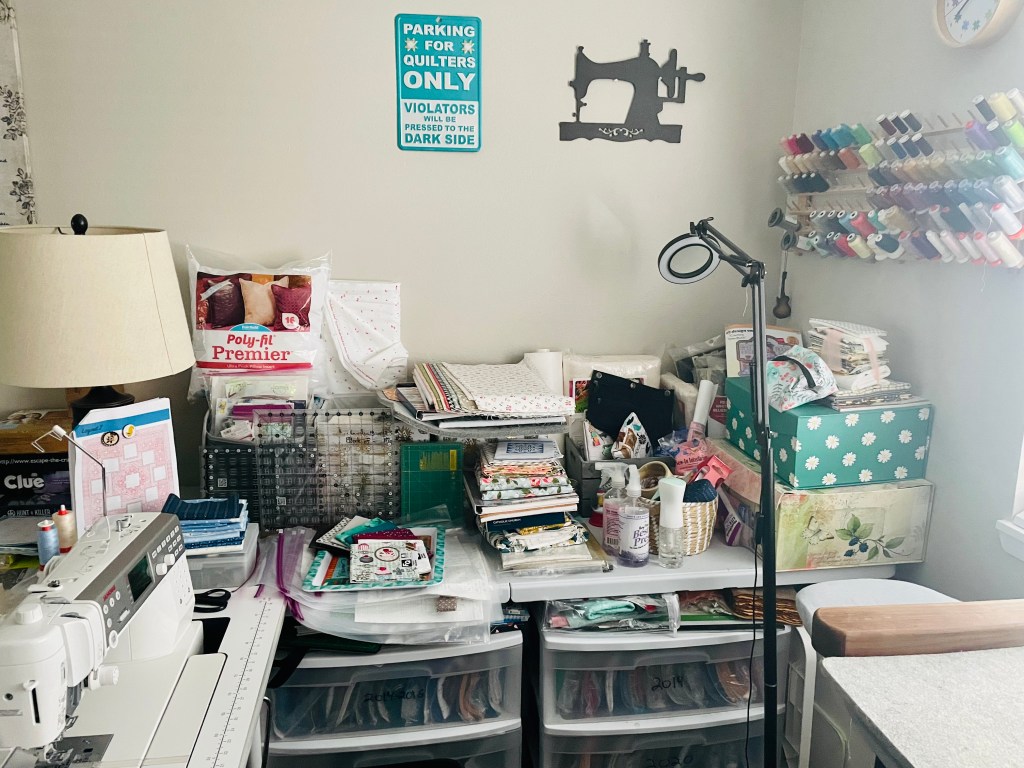
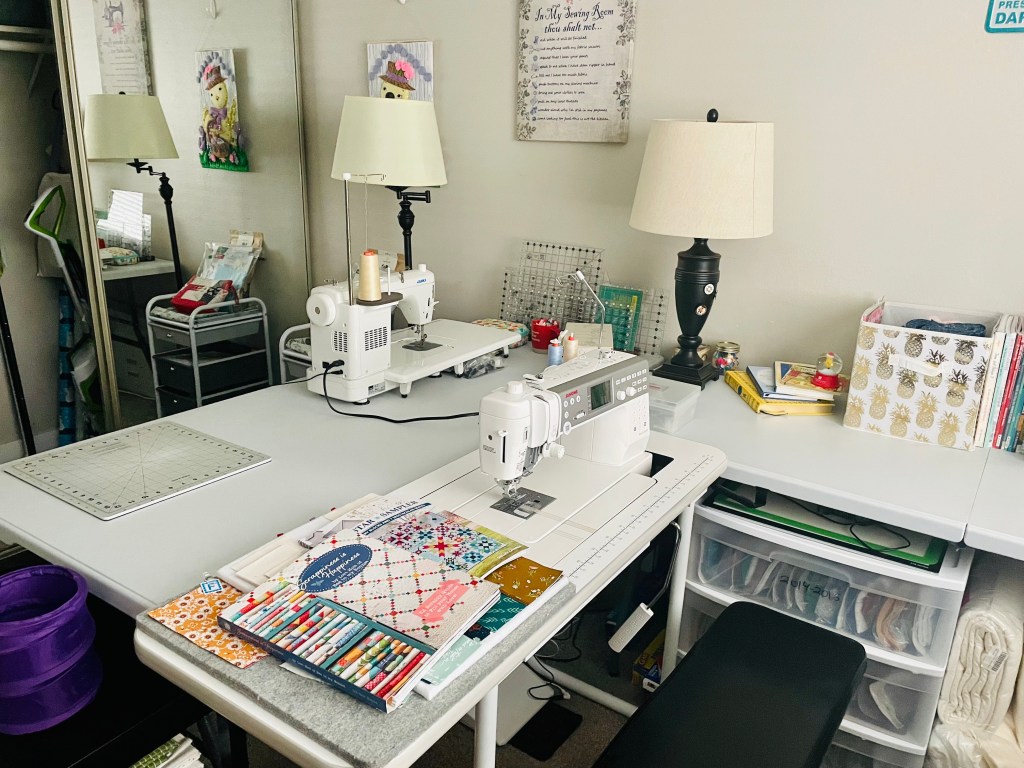
Yikes! I can’t even believe I let it get this bad. My problem here was that everything was out for me to see. As a crafter, that is super helpful to know what I have and plan for future projects, but did I really need ALL of that out? No. I couldn’t even reach my cutting rulers anymore. It was time to get some counter space back!
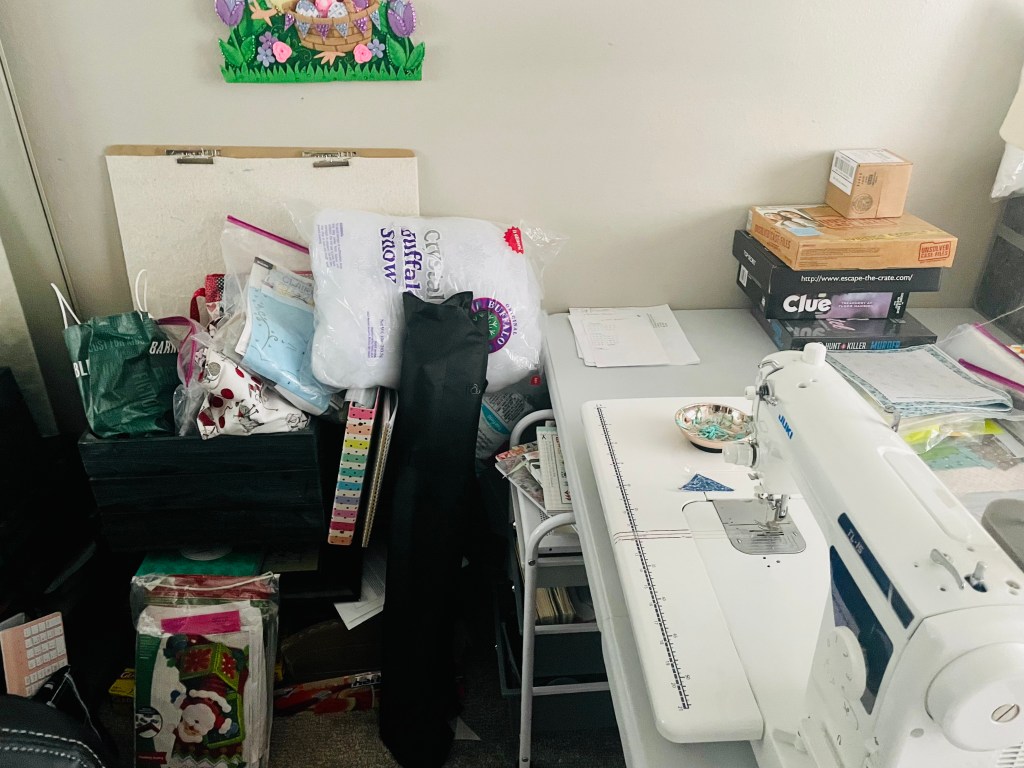
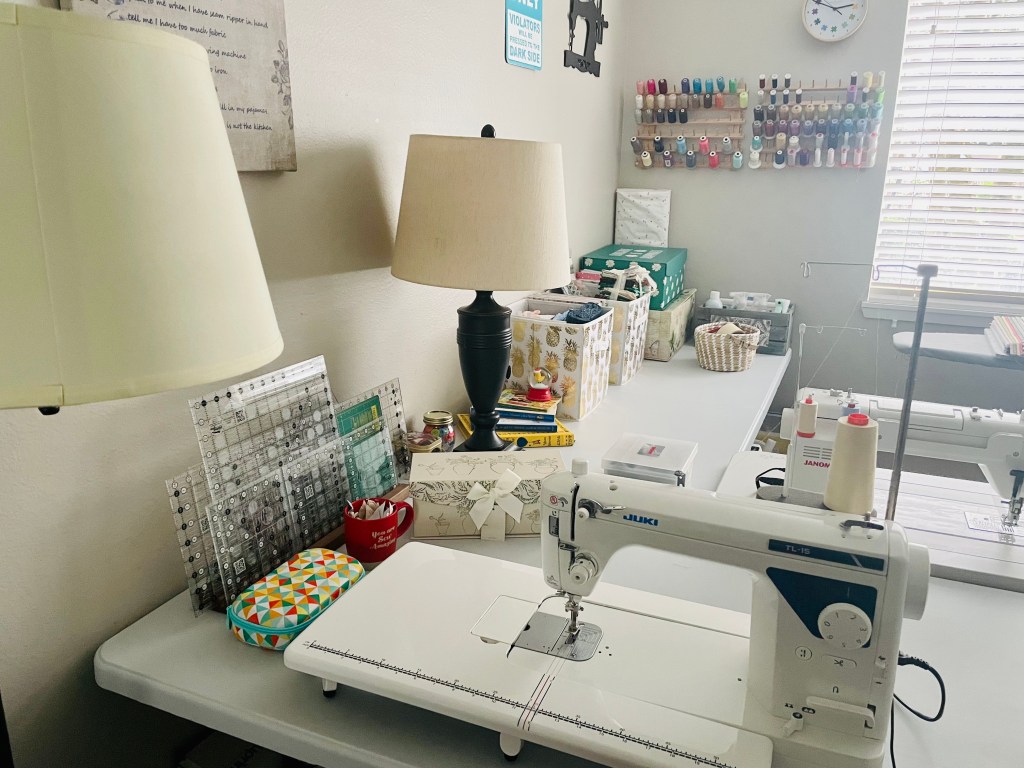
This corner had so many issues. It was my Bucilla/patterns/random stuff section. It stuck out horribly and was not compatible when I had my Cutie Frame set up for free motion quilting. My goal here was to get rid of the whole mess and open up that space.
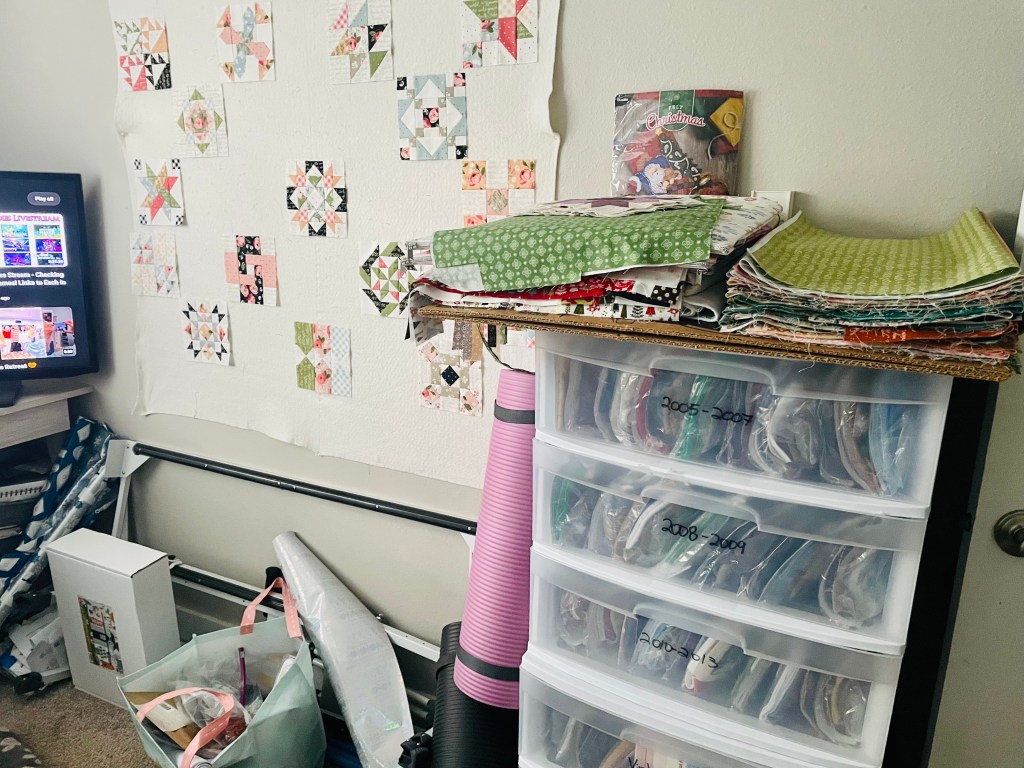
Oh goodness…where do I begin? You see that door handle at the very right of the photo? That is the entrance to my sewing room. Which means the first thing anyone saw were these plastic drawers, big posters boards, all holding a bunch of fabric and quilt blocks. If I wasn’t paying attention, I could literally walk into these because of how much space it took away from the entrance. What was I thinking? And why do I have yoga mats and wrapping paper in my sewing room? This all has to go! And lucky for me I have a little help to get me through this.

Phew, I’m glad to be past that. That was hard to share. So where do you begin with a room like this? Well I decided that if I wanted more counter space and less clutter, I needed to create storage space to put everything away. This meant I needed to start with the closet. Now the closet was so bad I couldn’t even get myself to take a picture of it. It had stuff pouring out of it when opened. So I grabbed a strong cup of coffee, a little furry support by my side, and got to work on my closet! Here is how I tackled this huge project.
01
Trash
As I emptied out the closet, I threw away a lot of stuff that was no longer needed or made sense to keep. How many empty bags did I need to save? Not that many!
02
Give Away
I then made a pile of things that I didn’t need, but could give away. I even gave away some fabric!
03
Categorize
From what remained, I placed them all into categories. I couldn’t believe how much batting I had. It filled up my entire dining room table!
04
Organize
This part felt like a game of Tetris. I put the least used items in the back of the closet and put items I plan to use soon at the front.
Time for the big reveal! After eight long hours, my sewing room is finally done! Of course I took pictures of everything. Let’s start with that closet.

Look at all the room in there! My goal was to have enough space so I could easily take out the Cutie Frame when needed and put it back. My favorite part is that I can close the door to hide it when not in use. I can also see all my finished quilts that are nicely hung up and waiting to be quilted. Plus it makes sense for them to be by the Cutie Frame!
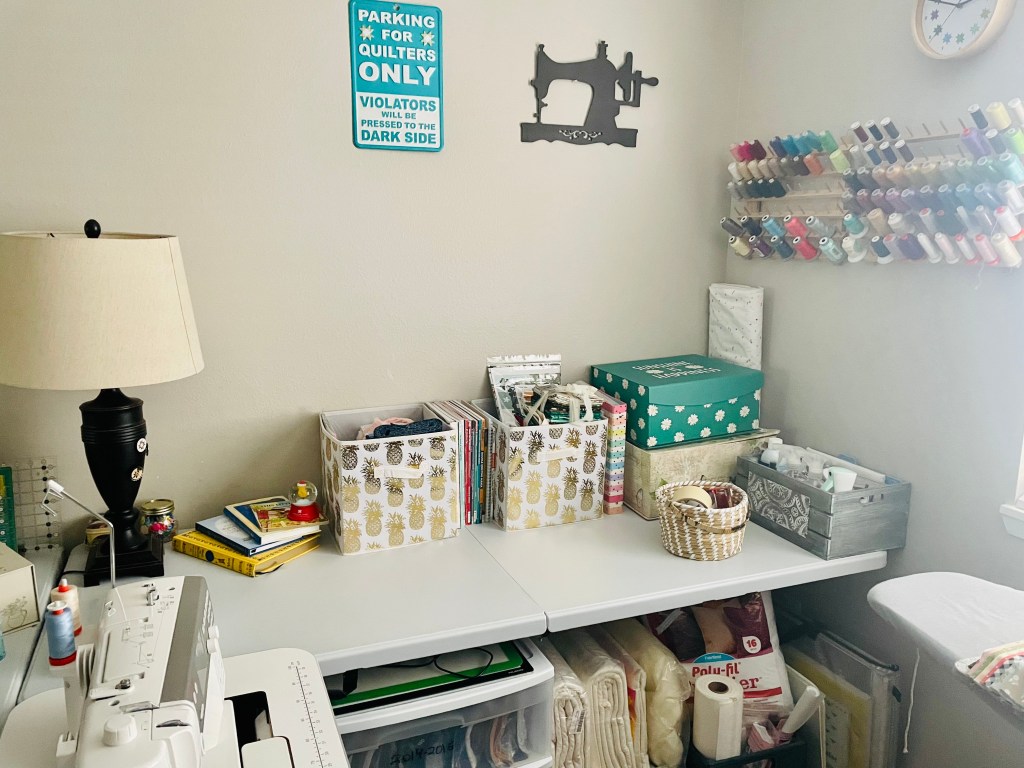
I have counter space again! The only things on that counter are notions that I need regularly and fabric that I am currently working with. I also have a nice gray box set up with all my ironing supplies that is now conveniently by the iron. I even had room for a little decoration to show off my treasured Winnie the Pooh books. You’ll notice that I folded all the batting and organized it under the table, next to a box of stabilizer, where I can easily grab it and see how much of it I have.
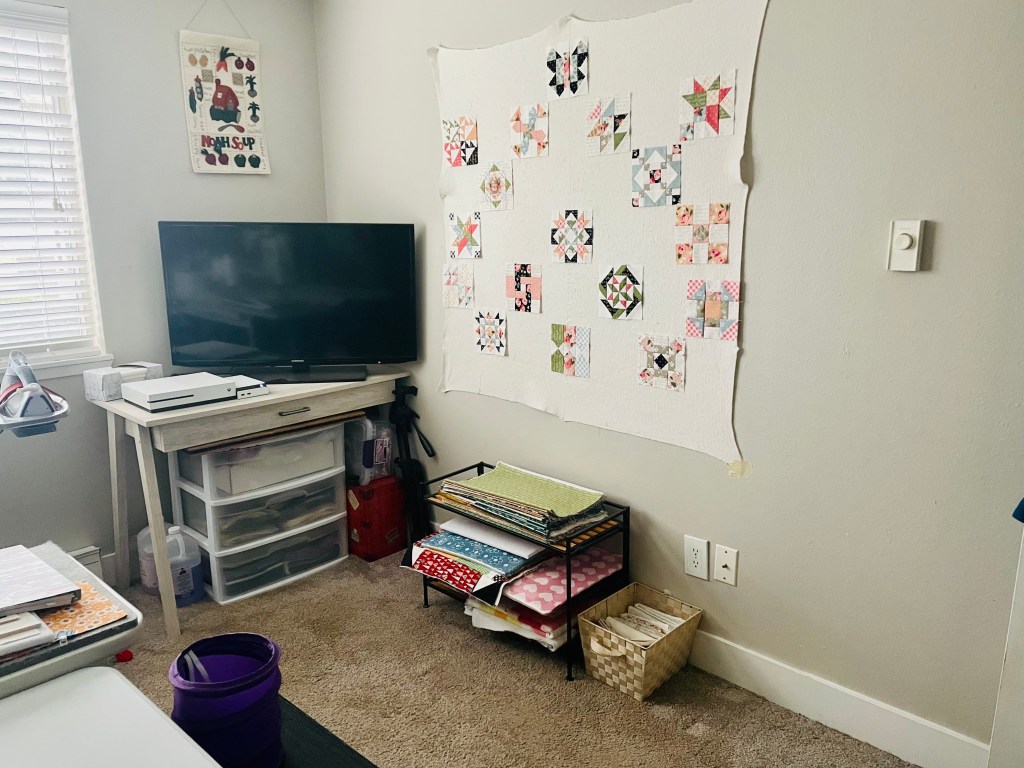
The entrance is clear! By clearing that space, the room looks so much bigger now. I can even expand my design wall. Maybe I should take advantage of this and get a really nice design wall up rather than the one I made with pieced batting, some push pins, and masking tape…I had to make due with what I had at the time. No judging here!
You’ll also notice I cleared out that space by the closet that had all my Bucilla supplies and patterns. This will help so much when it’s time to set my Cutie Frame back up and I can actually move to quilt the way I want.
Looking at these pictures, I think all that’s left to do is to organize the wall decorations and give it a more personal touch. Overall I am very happy with how it turned out and feel like I have all the sewing space now!
What does your sewing room look like? Any tips for keeping things organized when you’re in a creative head space? Let me know in the comments below! Happy quilting!
– Leslee
