
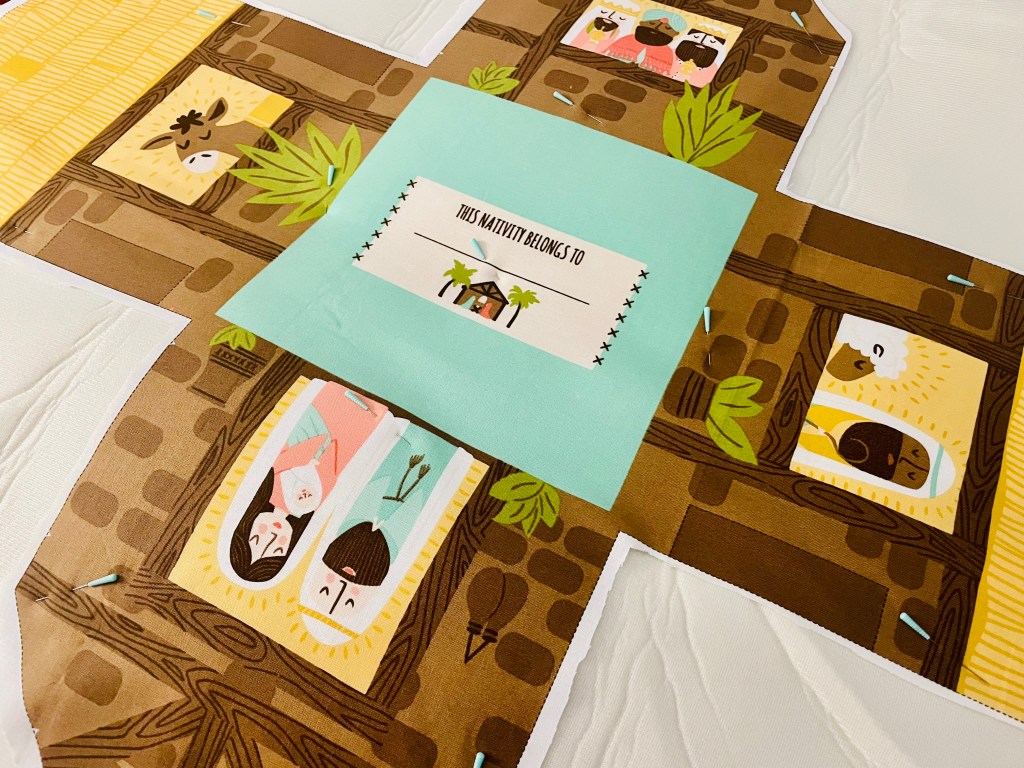
Raise your hand if you’re sick! It seems like everyone is sick right now and I am no different! It’s not COVID, but it’s still no fun feeling like my nose wants to fall off from using so many tissues. I also find it hard to sew anything when I’m sick (that’s how my husband knows I really don’t feel good). Good thing I got this really cute nativity panel done beforehand. So let’s dive into part II of this fun little project and finish off the Joyful Joyful Nativity Panel!
If you missed part I of this post, click here!
You’ll notice in the picture above that I roughly cut out the barn instead of cutting on the dotted line. I decided it would be easier to iron it onto the stabilizer first, then cut on the dotted line after it cools to make it more accurate. It worked great! I did this with both the inside and outside pieces of the barn.
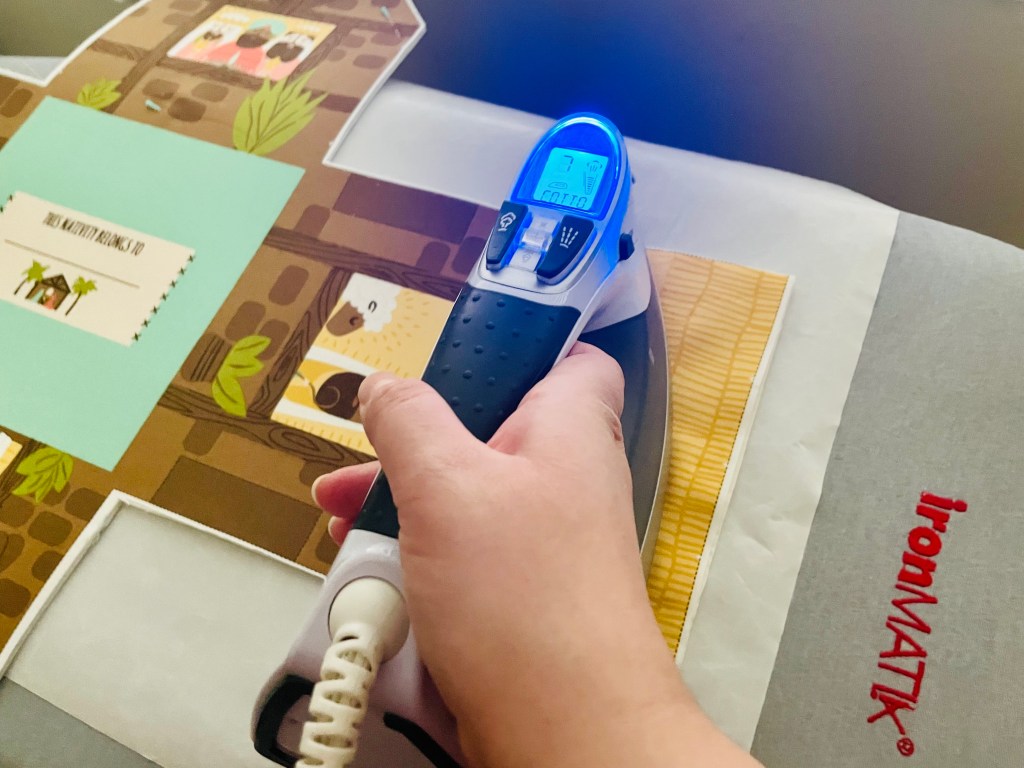
I also had to use two different kinds of stabilizers during this step. The outside barn needed foam stabilizer, which I learned creates great structure while allowing the material to have some movement if needed. The inside barn piece needed medium weight stabilizer, which I had to stop and order midway of doing this project because I accidentally ordered extra firm… oops! Glad I caught that before I got to far.
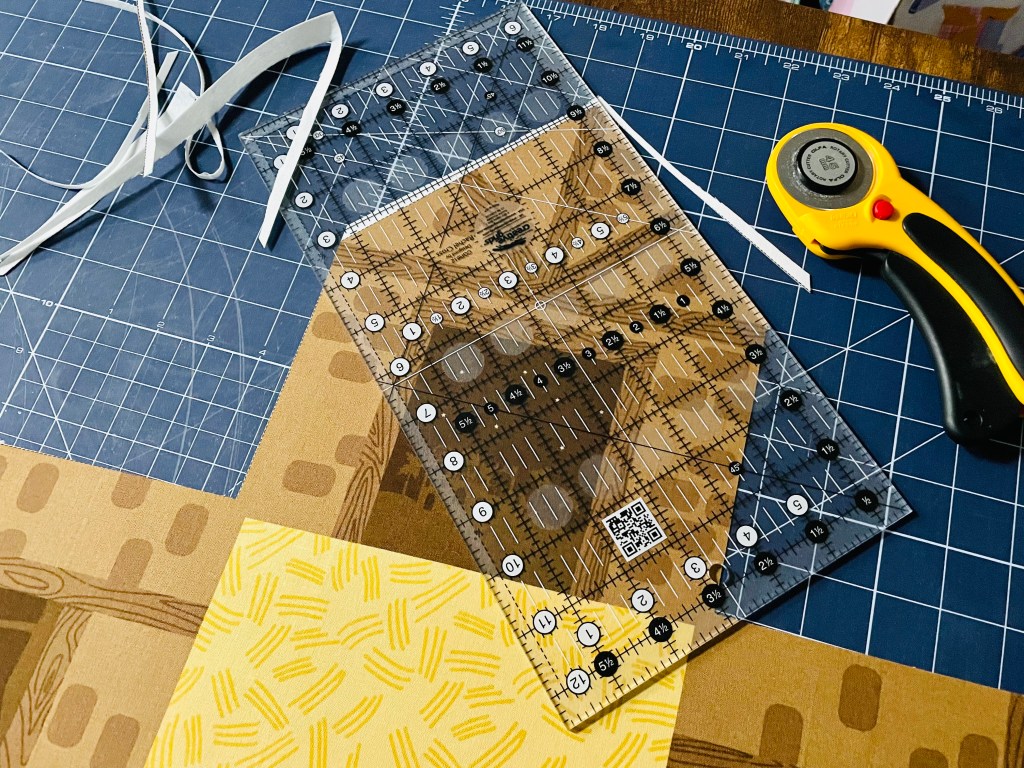
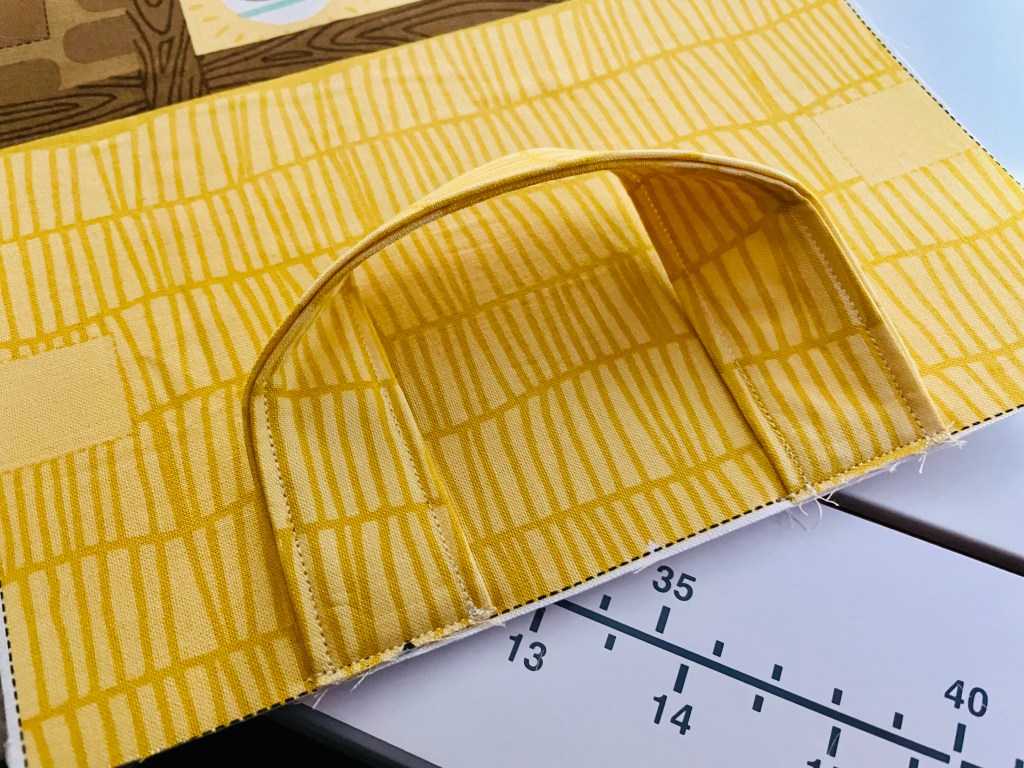
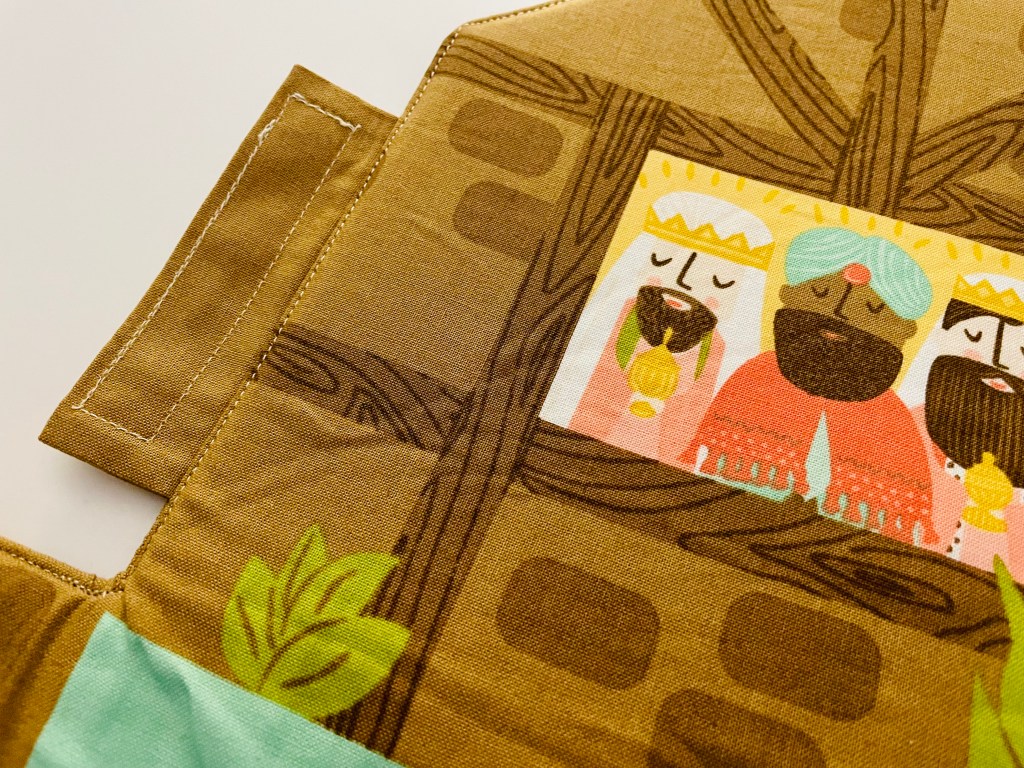
I also had to use medium weight stabilizer for the handles. Once those were done, it was time to put them on the outside barn piece! I attached them about 1/8 of an inch from the edge, maybe even less, knowing they would be sewn in better later on.
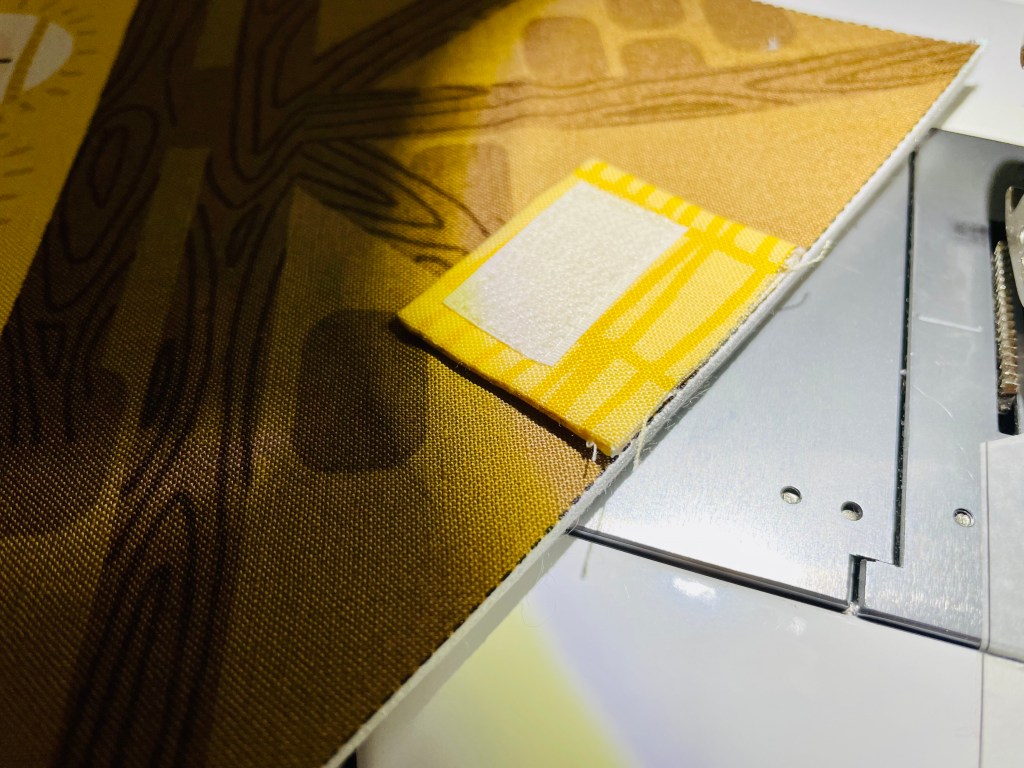
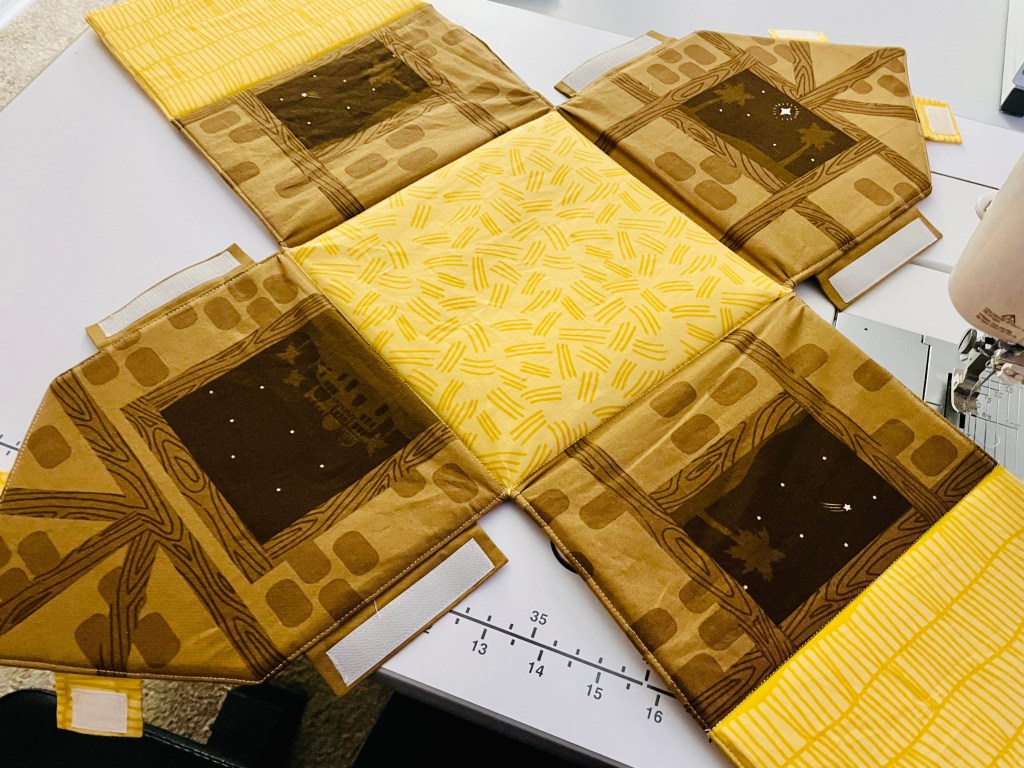
Time to work with velcro! I don’t know why I was so nervous about this part because sewing on velcro is much easier than I thought it would be. It encouraged me to use it again in the future now that I have some experience with it. This is why I love learning new things in my sewing room!
Once all the velcro, tabs, and handles had been created and sewn onto the outside barn piece, it was time to really put this barn together. This was the part where I needed to sew the outside barn piece with the inside barn piece, right sides together. This part was a little tricky though. These two pieces were not lining up perfectly and I had to tug and fiddle a little bit to make it work. I also realized that the inside barn piece was a little stretched on one side, which I did not notice before starting this project. I hear panels can be a little weird like that sometimes.

Once I sewed 1/4 inch all the way around, it was time to turn this barn inside out to see my work! I was so excited for this part! It was also the most difficult part in this entire project. So if you are at this step, don’t give up! Just slowly and carefully keep working at it.
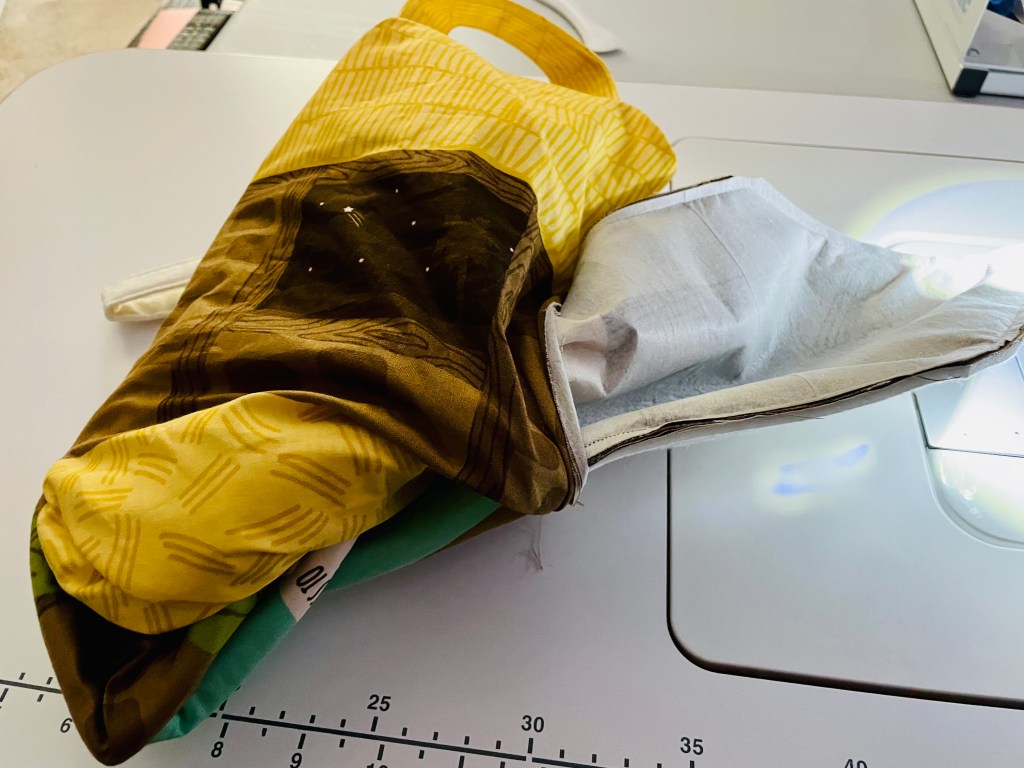
Now this is the part where I thought I had messed up bad and had a small panic attack. Once the barn was completely turned inside out, it looked terrible! It would not lay flat, the corners had problems, it was the worst thing I had ever created and I wanted to throw it away!
Wow, that was a lot of emotion. Once I had calmed down a bit and got over the initial feelings, I decided not to give up and keep going! So I grabbed my Clover Point 2 Point Turner and worked out the corners and the edges. Then I sewed as close to the edge as I possibly could all the way around, along with closing the gap that allowed me to turn the panel inside out.
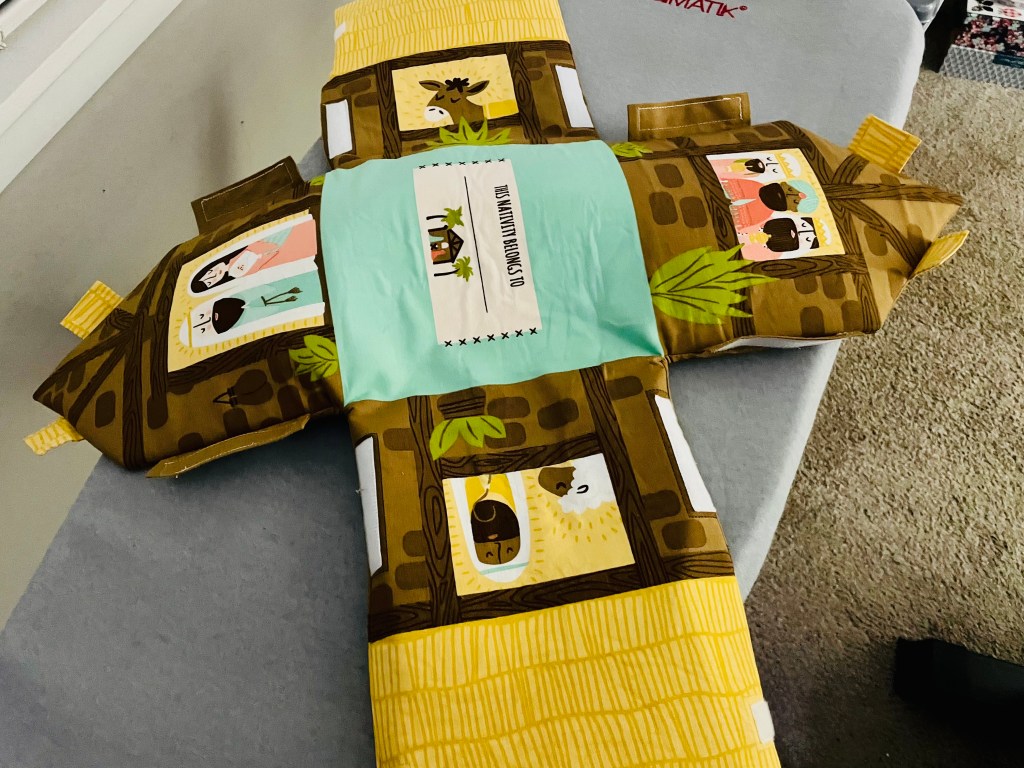
I fixed it! It looks so good now! Actually, this is my biggest piece of advice about this panel: do not freak out once you turn it inside out. Sewing around edges truly helps flatten the panel, allowing it to lay flat, and suddenly it will look the way it should. Thank god.
Does it have a few issues? Sure. Overall, am I happy with it? YES! And I learned a lot in the process. Time to close up the barn and put all the characters in it!

This was such a fun project to make and turned out super cute! I hope you all enjoyed watching me put this project together and it encouraged you to try something new in your sewing space!

Next on my to-do list are a few sew alongs to catch up on and a Bucilla kit to finish before Christmas. I hope you all have a wonder holiday and happy sewing!
– Leslee
