Ask any quilter how they press their seams and I promise, you will walk away with more answers than you know what to do with. Some steam, some don’t, some press open, others press to the dark side. Did I mention some quilters don’t use an iron when they press? I’ll let you think on that for a minute.
The way you press your seams can determine the accuracy of your points, if your seams will meet, and how flat your block is once finished.
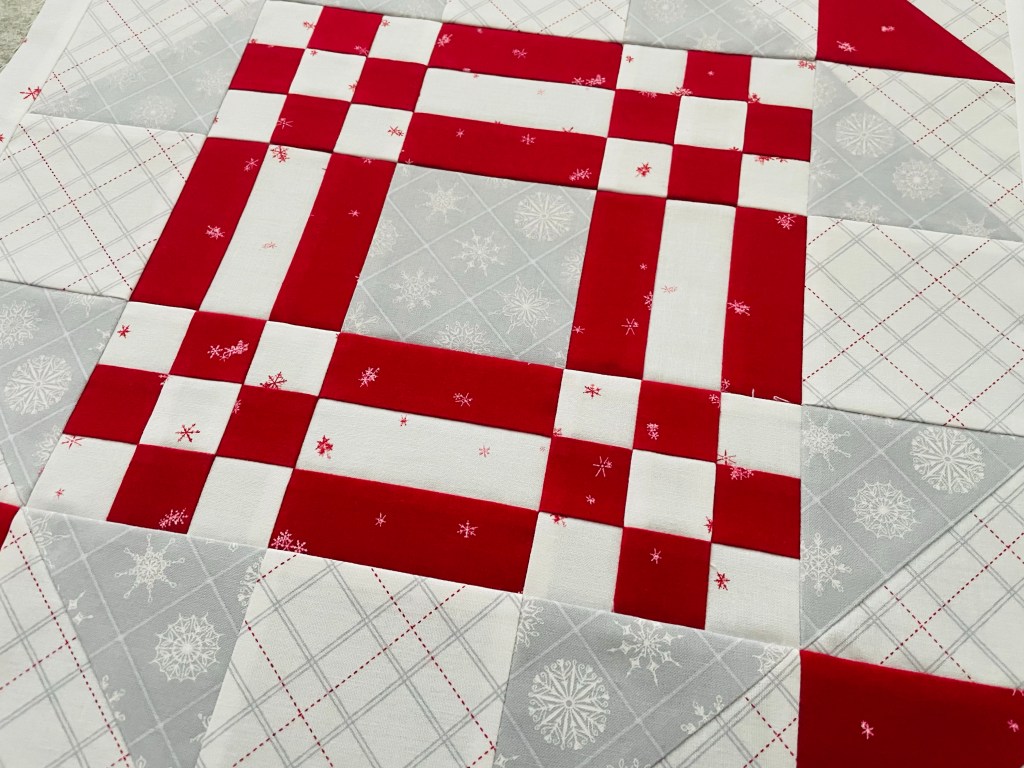
This means finding your favorite and most effect method of pressing is an essential skill for a quilter. Let me show you my method and why I like it. I call it the “test, press, submit” method.
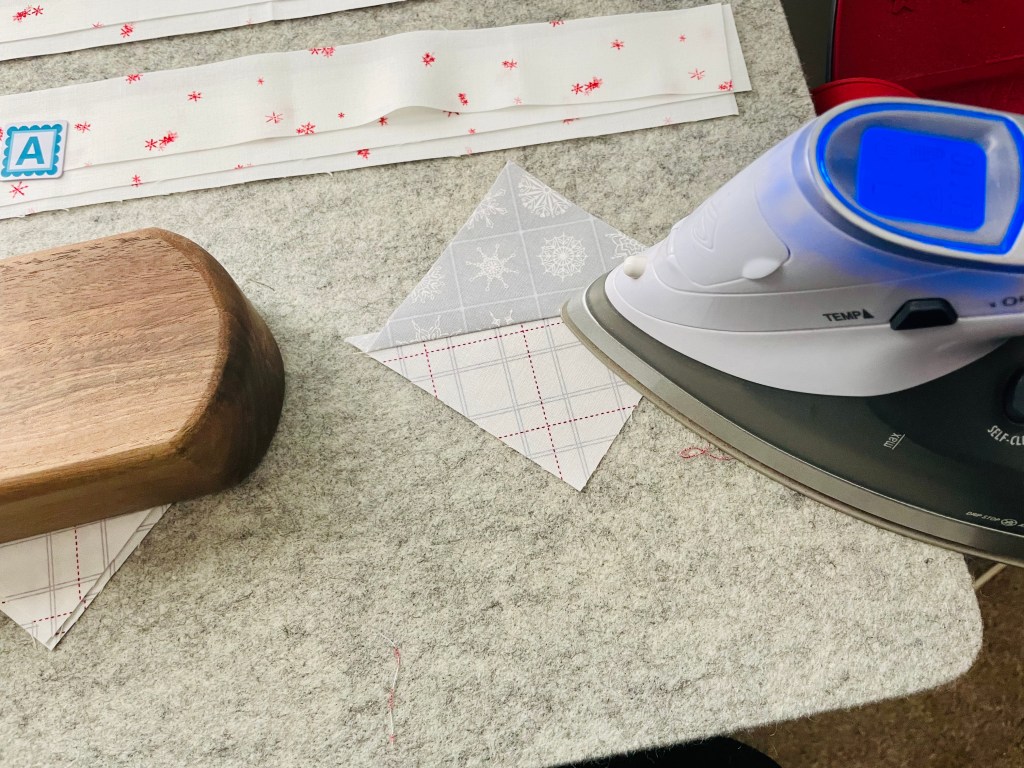
Finger Pressing
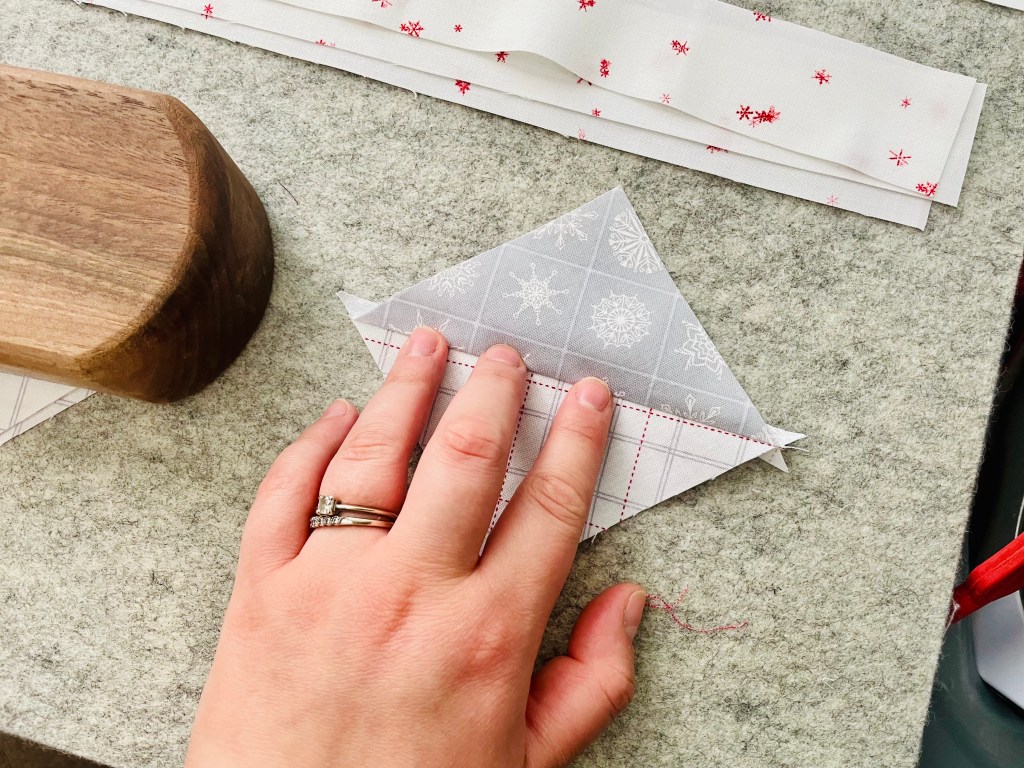
Before I even take my fabric to the ironing board, I usually give my fabric a good finger press to set the stage. In my head, this is the “pre-pressing” stage where I test out how I want to press my fabric. At the same time I am also silently informing my fabric this is what it’s going to do and hope it’s listening. It also makes it easier to press correctly when the time comes to set my iron onto the fabric.
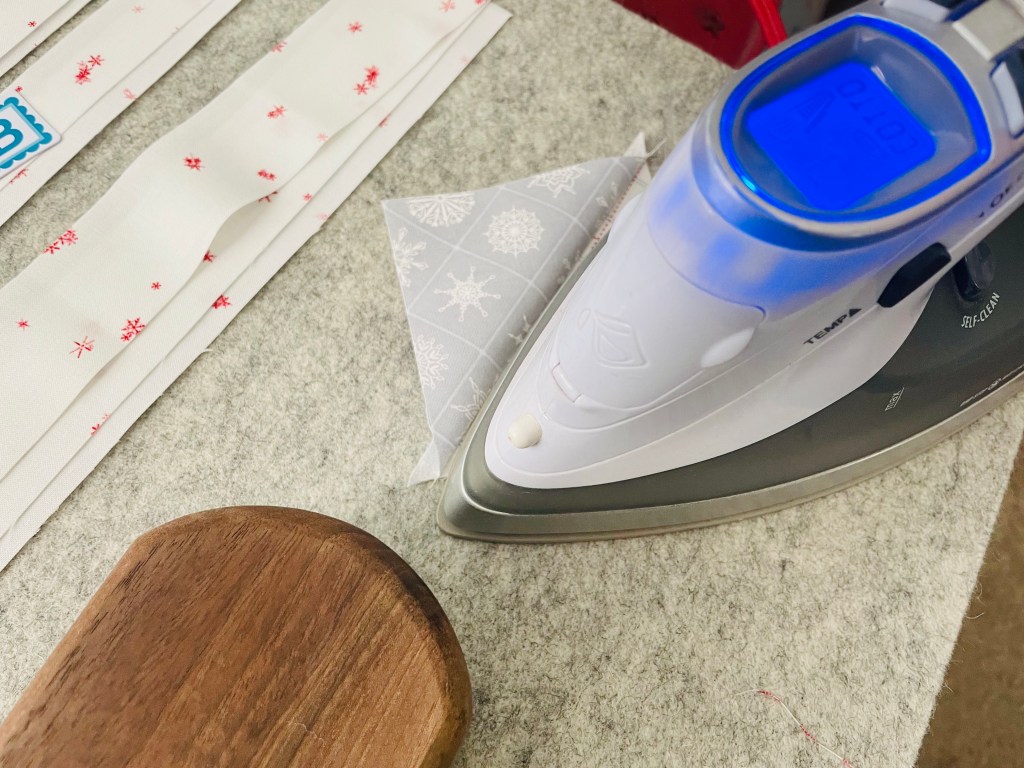
Press with a Hot, Dry Iron
Time to make my fabric do what I want it to do and press! If pressing to the side, I typically bud up the edge of my iron to the seam. It heats up the seam, makes it straight, decreases the likelihood of tucks, and allows me to push my iron over the edge in a quick motion. I’ve learned over time I can leave my iron on the fabric for a good 20 seconds if I have a stubborn seam and come out with good results. If pressing open, I find it to be even faster and end up with flatter results!
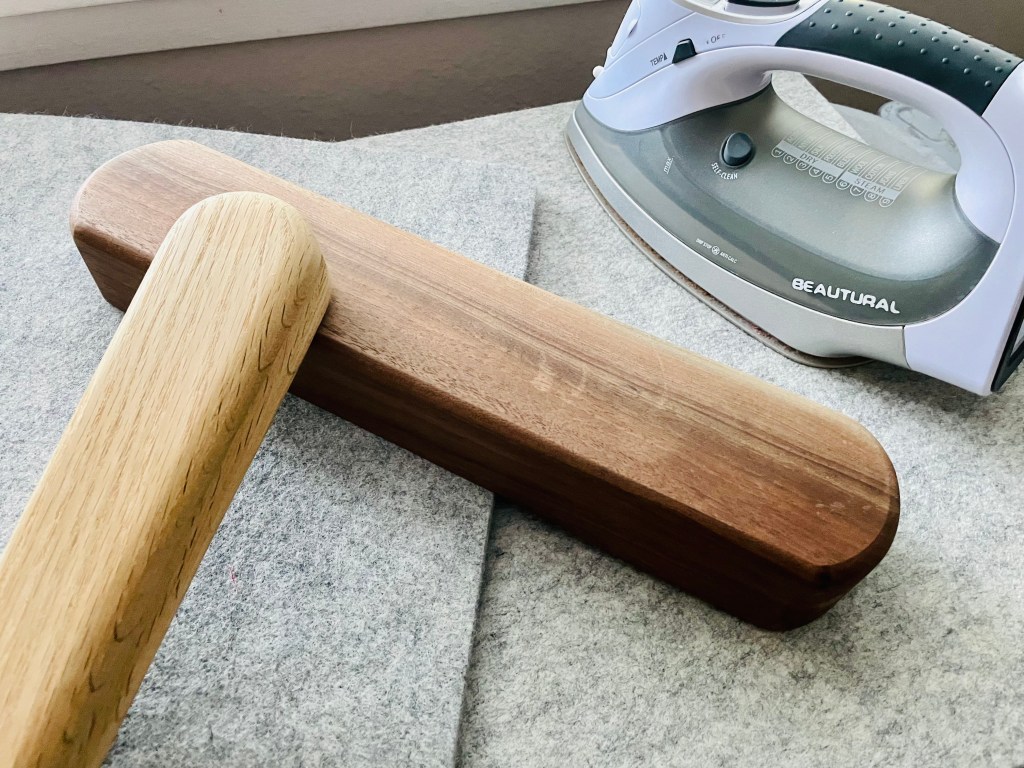
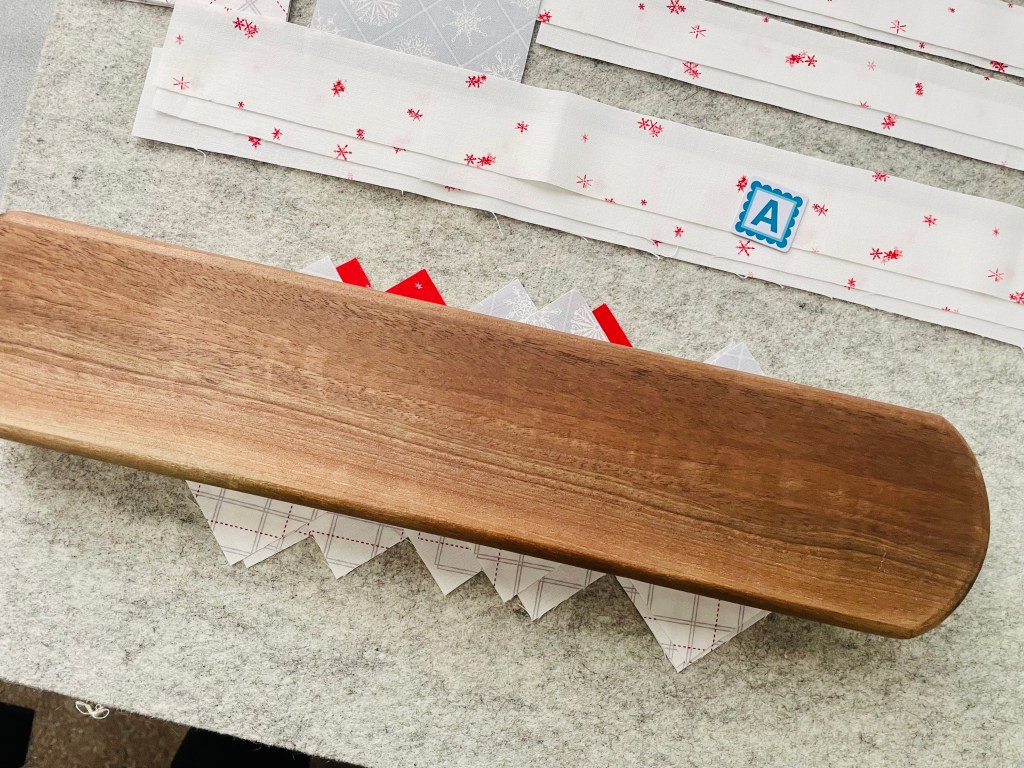
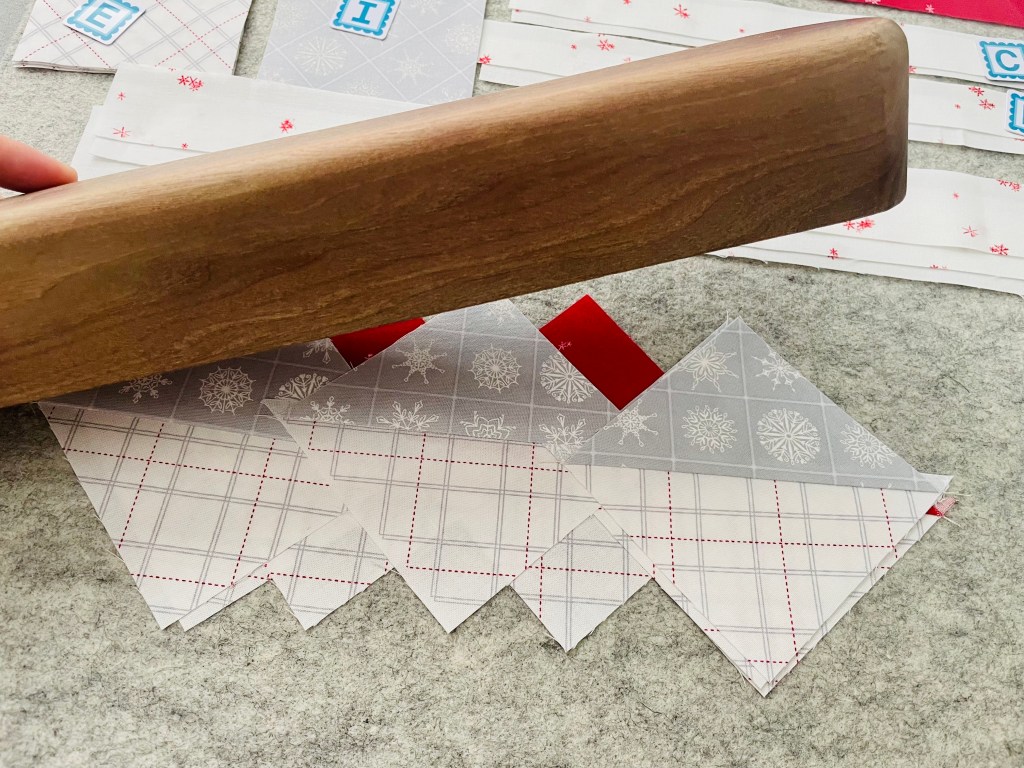
Clapper
I will finally finish off with the good old clapper. The clapper is basically me telling my fabric it must submit to what I want it to do. It hasn’t failed me yet! The clapper you see in the picture was given to me by my husband on our wedding anniversary. Most people would probably be upset by a large piece of wood as a present, but I was absolutely ecstatic and couldn’t wait to try it out as soon as I got it. It truly was the perfect gift and my husband knew it! The heavier the clapper, the better the results, and it doesn’t hurt to have two or three!
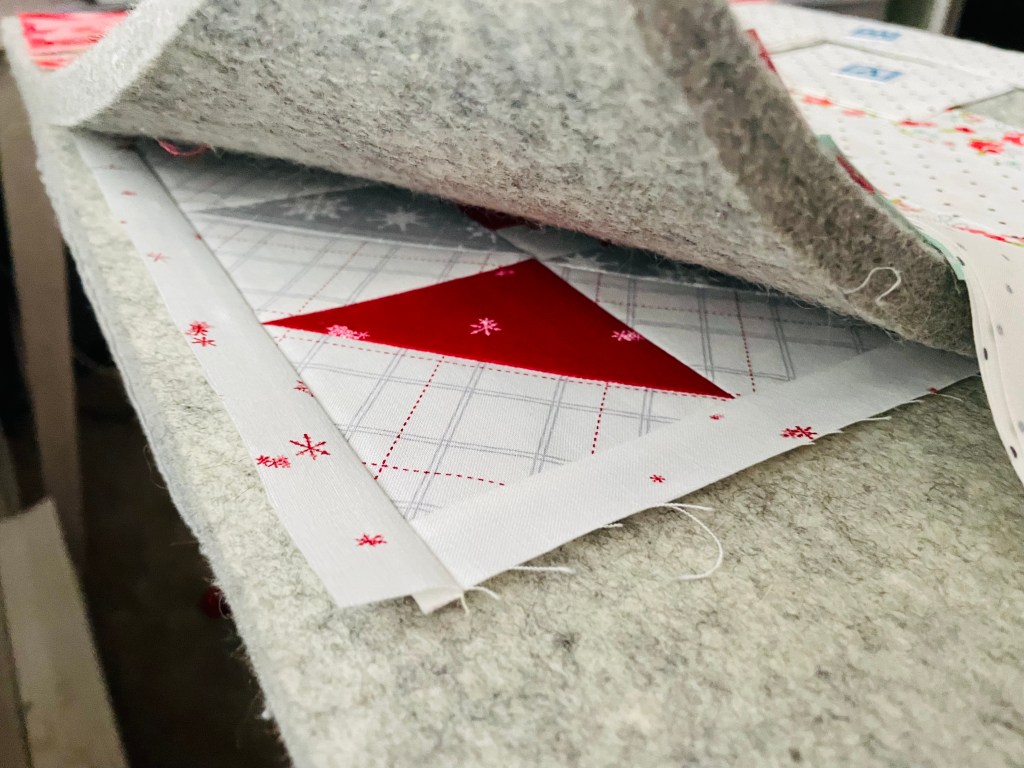
Wool Pressing Mats
Now let you me tell you my final secret to pressing: wool pressing mats. Some quilters loooove steam when pressing, but I am not one of them. I have accidentally distorted my block that way and learned my lesson! When pressing with a dry iron, I always makes sure to use a wool pressing mat. It’s a harder surface than a basic ironing board, holds heat well, and allows me to pin my fabric to it when needed. I have heard that it can develop a sheep smell when wet, but since I never steam when pressing, I have personally never smelled it on any of my wool mats. Lately when finishing a block, I will heat my block by ironing it, sandwich it between two wool mats until cool, and find an extremely flat block waiting for me. Works like a charm!
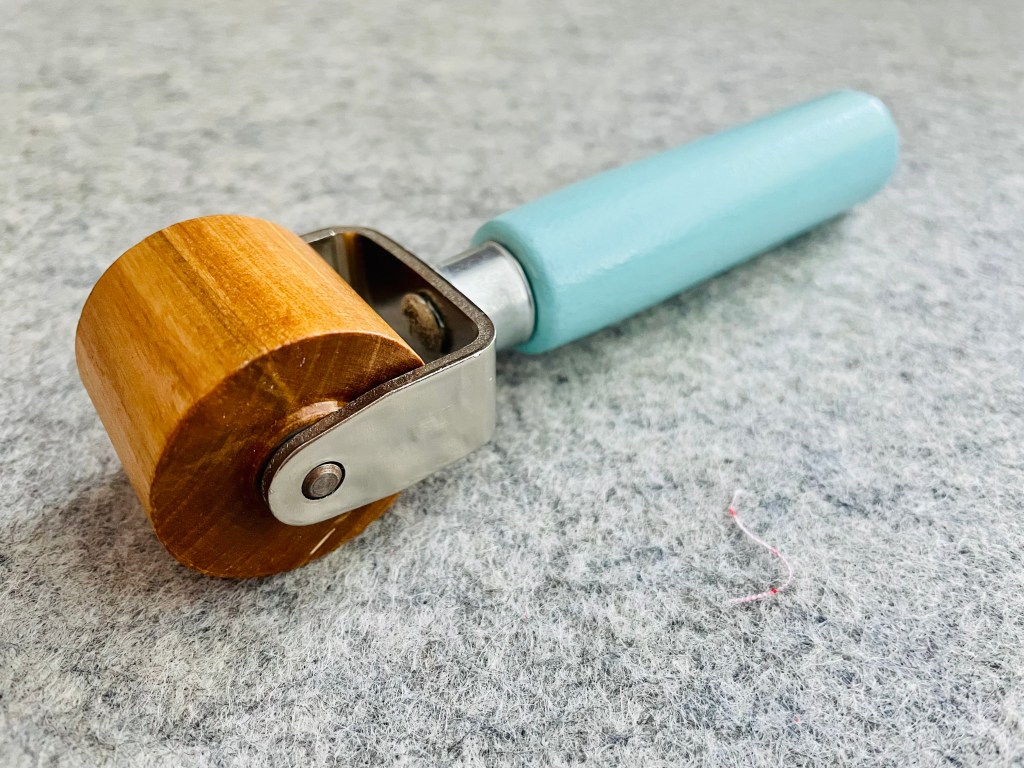
Pressing without Heat
Tired of turning your iron on? This cool little seam roller can be used to press your seams with just pressure. Roll it over your fabric and done! It can make piecing go so much quicker and decrease the trips between going back and forth from the sewing machine to the pressing mat. I don’t always use this notion, but find it helpful when making pineapple blocks or log cabin blocks.
So remember: test, press, submit!
Let me know in the comments below how you press your fabric. Do you have a preference on open seams or pressing to the side? Any cool notions you use that I haven’t mentioned? I would love to hear about them!
– Leslee
